Sewing on a button is a basic skill and one of the easiest things to do when you are learning to sew.
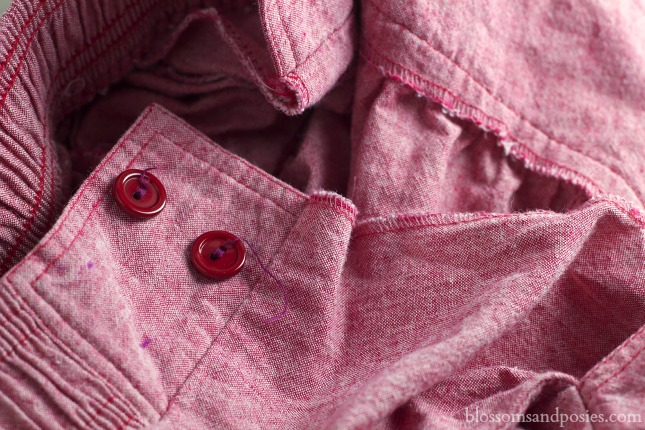
We bought a skirt for Abbie that was too big in the waist, so she decided to move the buttons. First she marked the new spot where she wanted to sew the buttons, then she cut the buttons off, and reattached them using this method…
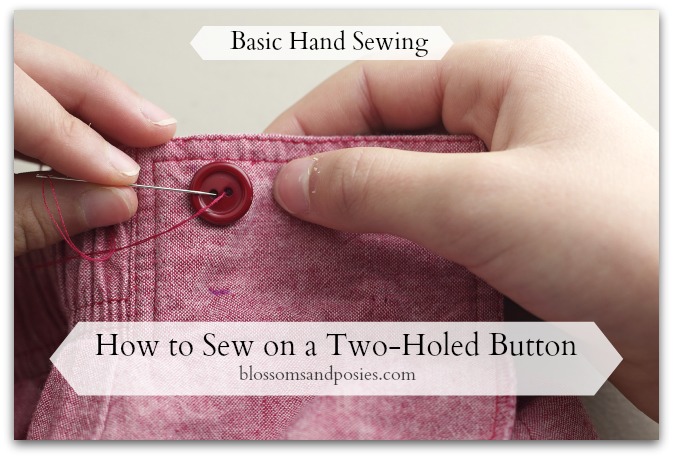
How to Sew on a Two-Holed Button
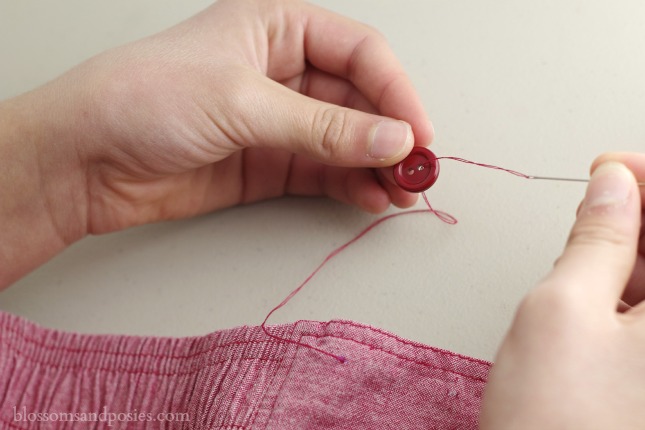
Cut a 2′ piece of thread that matches the color of your button. Thread the needle and knot the thread doubled.
Place the button where you want it (you may want to mark the spot like Abbie did but you don’t have to). Insert the needle on the back side of the fabric and up through the right-hand hole.

Insert the needle down through the left-hand hole and out the back of the fabric.

Poke the needle back up through the right-hand hole and pull through.


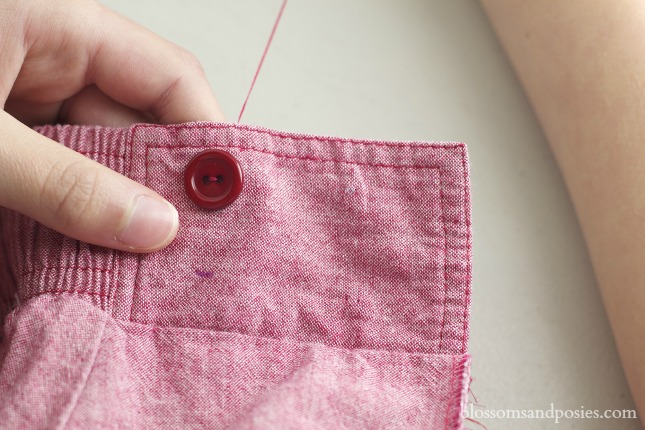
Repeat the pattern of up through the right hole then down through the left hole three or four times. Secure the thread in a knot on the back of the fabric and trim the end.
This is a very nice idea.