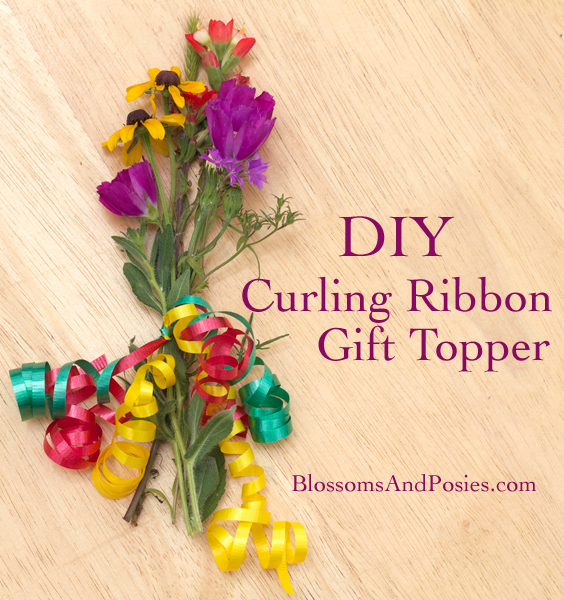
You can spend a whole bunch of money buying pre-made curling ribbon gift toppers. But it is way more fun (and soooo much cheaper) to make your own. So today, I will show you how to make the kind of curlicue ribbon that you find on gifts and flowers. They are actually super easy to make!
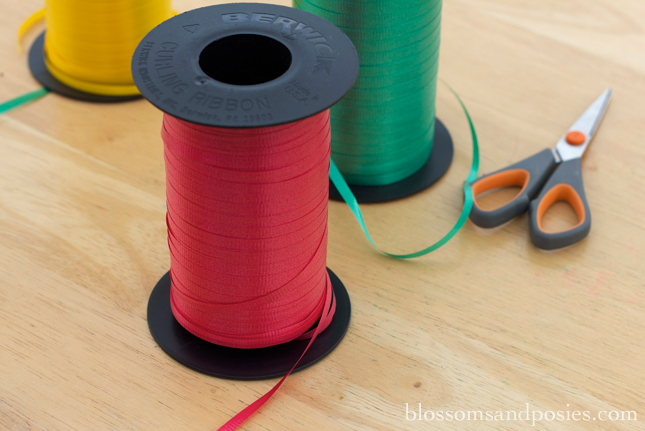
Materials
- curling ribbon
- scissors
Directions
Start by cutting a length of ribbon. You can make it as long as you like, but two feet is a pretty good starting point for each curl.
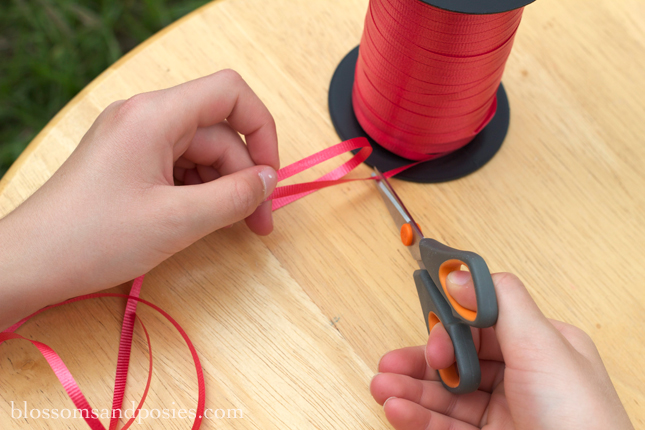
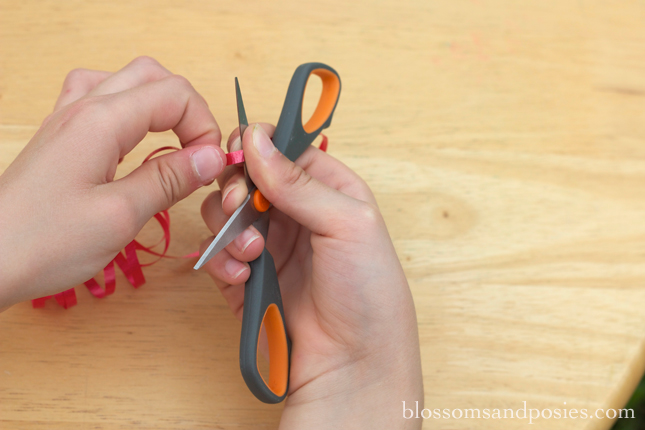
The next thing you’ll do is open the scissors really wide and lay the ribbon over the sharp side of one of the blades. You have to make sure you put the ribbon on with the inside of the curls facing down. Press down on it with the thumb of the hand that is holding the scissors.
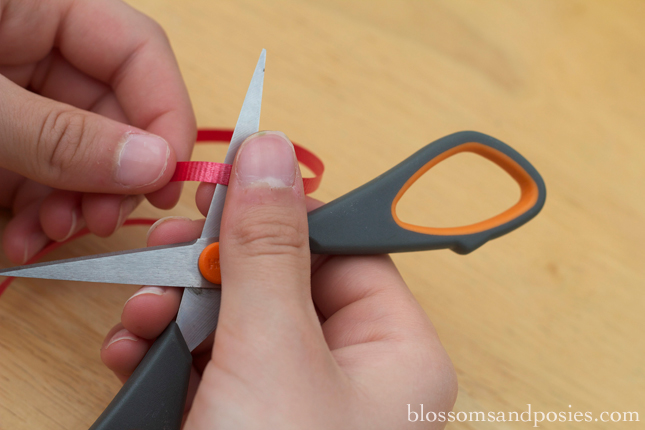
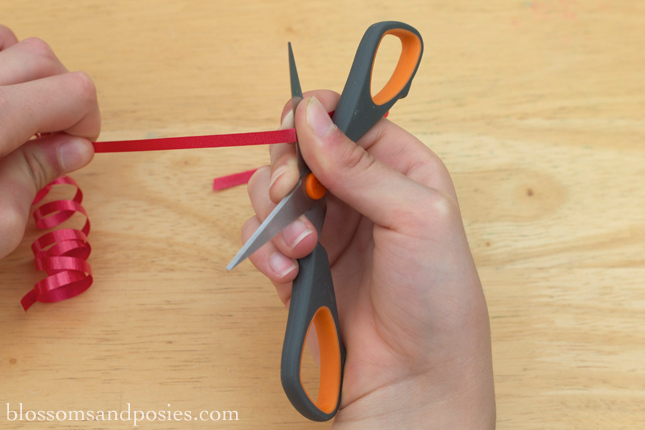
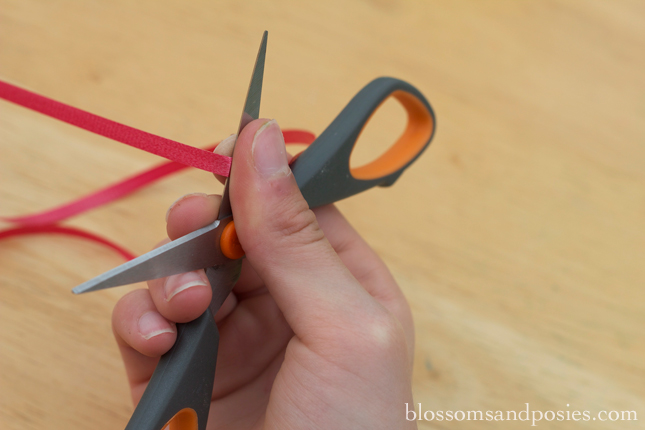
Now grab onto the ribbon close to the scissors with your other hand, and pull. Just run the ribbon over the blade – make sure you press down firmly with your thumb so that the bottom of the ribbon gets scraped by the scissors!
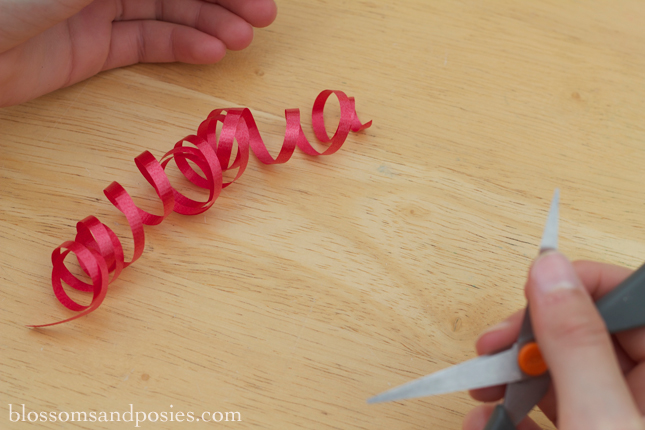
The ribbon should automatically curl up!
Curl several different colors and tie the together in the center to make a gift topper. You can tie your curling ribbon topper onto other ribbon you have wrapped around a gift package, or just tape the topper on. In the picture at the beginning of the post you can see I just wrapped a few colors around some wildfowers and tied them in a knot.
Of course doing a craft project outside tends to draw the curious…
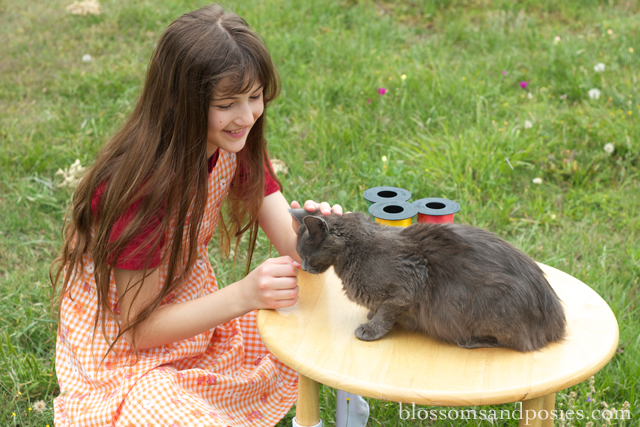
Prince is sooooo cute!
Okay, back to ribbons. Here is an interesting factoid about curling ribbon my mother found:
The desired behavior of the ribbon often dictates the material and any surface treatments used. Curling ribbon, for example, is bathed in glue that is pressed thin by rollers and dried. The glue gives the ribbon its curling properties. – from madehow.com
And if you are a science-y type, you will probably find WHY this happens pretty cool:
As the ribbon is pulled between the blade and your thumb, the molecules that make up the ribbon get rearranged into a new configuration. Because they have to go around a bigger curve, the molecules on the side of the ribbon closest to your thumb are stretched more than those next to the metal blade. That all makes sense. But, if you pull the ribbon through too rapidly, the molecules don’t have time to settle into their new stretched-out configuration. Instead, they elastically slip back to their original configuration, and the amount of curl is less. So pull the ribbon through fairly slowly to get a better curl. – from Secrets of Ribbon Curling Revealed
Your turn: What’s your favorite fast gift decoration? Leave a comment here.
That is a fascinating fact about the science behind the curl!
It’s amazing how much we can save when we make things ourselves isn’t it?
Thanks for sharing at Wow Me Wednesday!
I found your post at “Wow Me Wednesday”! =) Thanks for the tips on a Curling Ribbon Gift Topper.
One of my favorite ideas for a fast gift decoration is to wrap it in “another gift”..such as a nice piece of fabric, or something that the person ( who is getting the gift ) would like.
I’ve always had trouble curling ribbon, maybe now I’ll be able to