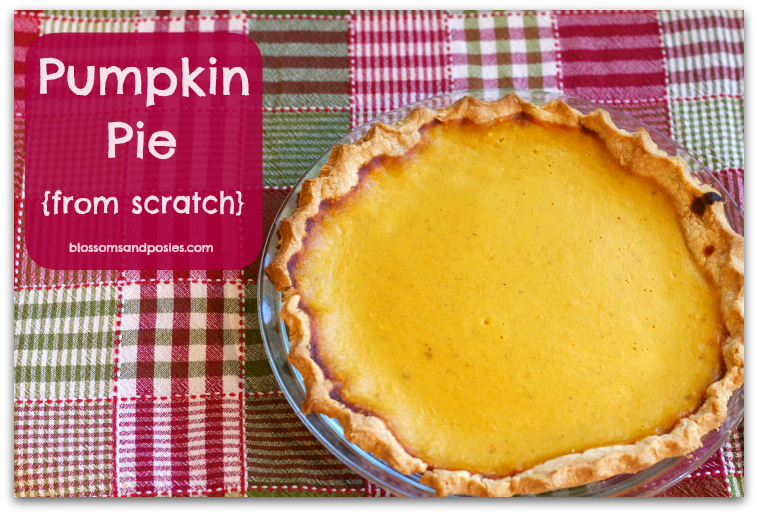
Pumpkin pie is a constant in our family holiday celebrations – neither Thanksgiving nor Christmas dinner would pass muster with Grandpa if there wasn’t a pumpkin pie!
There have been years of store-bought pies. And an occasional store-bought crust plus canned pumpkin/evaporated milk filling pie, aka “homemade.”
But then we discovered how ridiculously delicious scratch pumpkin pie is.
Real butter in the homemade crust. Real pumpkin and cream in the homemade filling.
Abbie’s father, a non-pumpkin-pie eater, became a true fan. He even commented on our post about pumpkin puree, “I got to have some of the pie that was made from that puree. It was, and I mean this, the very best pie I have had in many, many years. Perhaps the best pie I ever had.”
This pie is that good.
We won’t deny that it is a little more effort than buying one at the store. But it is well worth it!
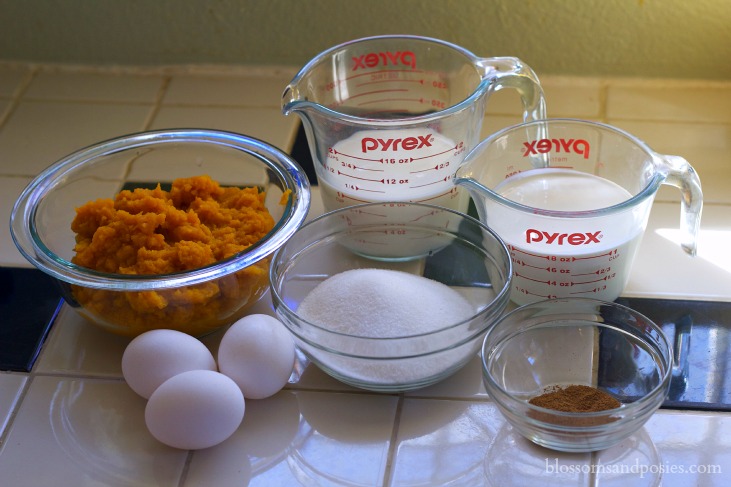
Ingredients
Easy Homemade Pie Crust still in a pie plate
3 eggs
3/4 cup sugar
1/2 teaspoon cinnamon
1/8 teaspoon nutmeg
1/2 teaspoon ground ginger
pinch ground cloves
pinch salt
2 cups fresh pumpkin purée
1 cup whole milk
1 cup heavy cream
Instructions
1. Preheat oven to 375°.
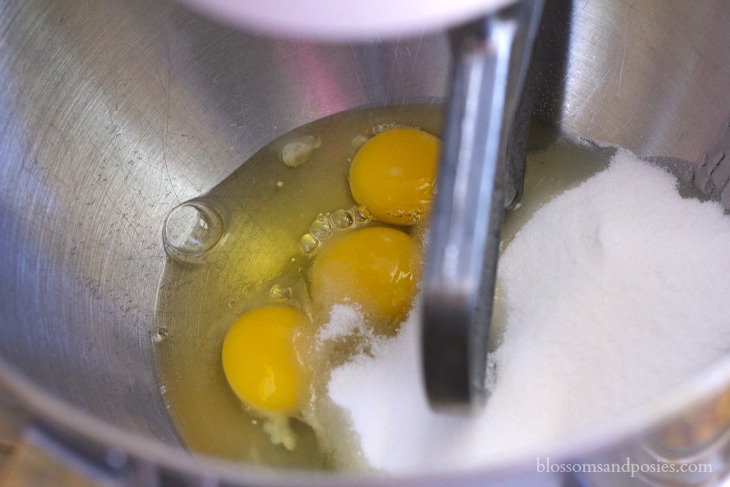
2. Beat eggs with the sugar
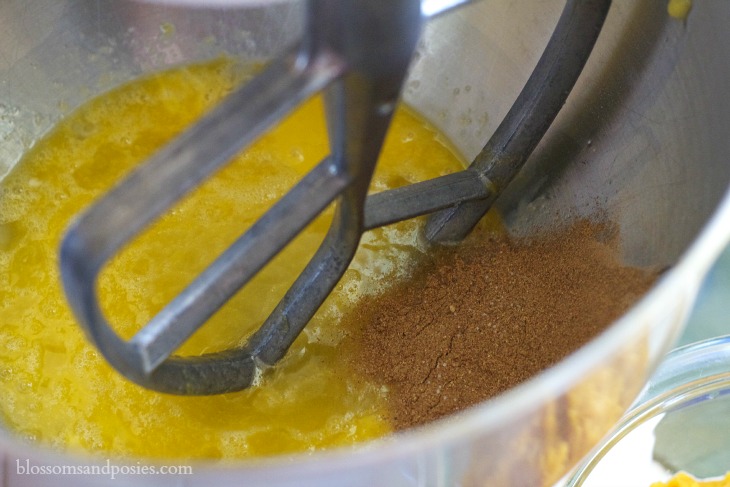
3. Add spices and salt and mix.
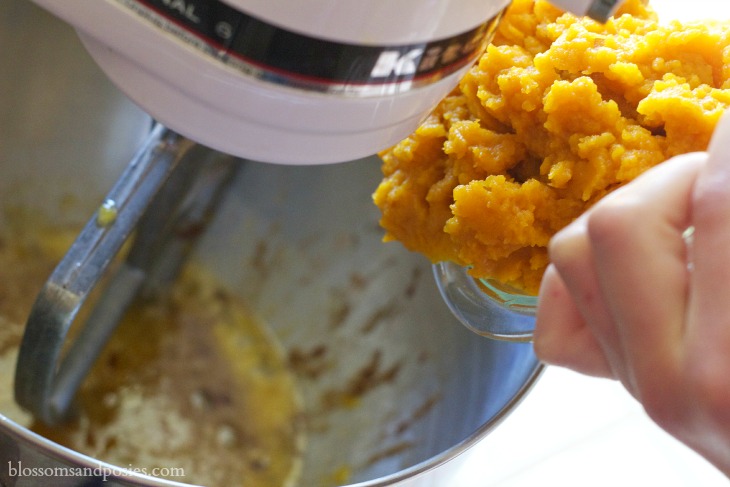
4. Stir in the pumpkin.
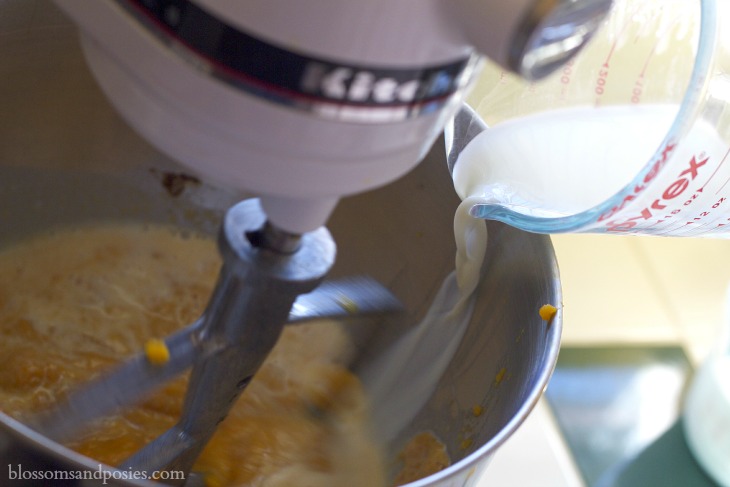
5. Add your milk and cream and stir again.
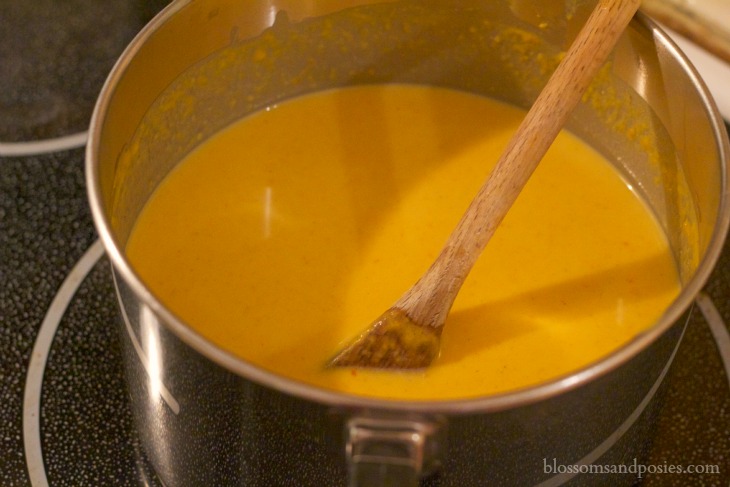
6. Warm the pumpkin mixture in a saucepan on the stove over medium heat, stirring constantly until it’s steaming. Don’t boil or you will end up with scrambled pumpkin eggs! It would still taste delicious in your pie, but would look a little weird!
7. Put your pie plate with crust on a baking sheet. Carefully pour the hot pumpkin mixture into the crust (be sure you are pouring away from yourself – ask for help if the pot is too heavy.)
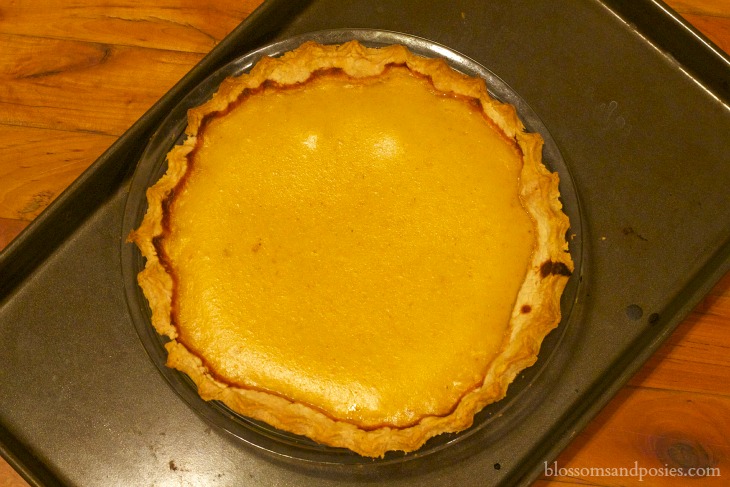
8. Put the baking sheet with pie in the oven (careful!) and bake for 35 minutes. You’ll know it’s done when you wiggle the pie pan and the pumpkin mix still moves slightly, but doesn’t look shiny-wet. You want it to still be moist.
9. Remove the pie from the oven and let it cool on a baking rack. If your pie doesn’t look 100% perfect don’t worry! Each homemade pie is unique, and in the end people care more about how it tastes! And believe us, it tastes delicious!!
The original recipe for pumpkin pie filling that ours is based on came from Mark Bittman’s How to Cook Everything.
- Easy Homemade Pie Crust still in a pie plate (http://wp.me/p2NEfY-8A)
- 3 eggs
- ¾ cup sugar
- ½ teaspoon cinnamon
- ⅛ teaspoon nutmeg
- ½ teaspoon ground ginger
- pinch ground cloves
- pinch salt
- 2 cups fresh pumpkin purée (http://wp.me/p2NEfY-2n)
- 1 cup whole milk
- 1 cup heavy cream
- Preheat oven to 375°.
- Beat eggs with the sugar
- Add spices and salt and mix.
- Stir in the pumpkin.
- Add your milk and cream and stir again.
- Warm the pumpkin mixture in a saucepan on the stove over medium heat, stirring constantly until it's steaming. Don't boil or you will end up with scrambled pumpkin eggs! It would still taste delicious in your pie, but would look a little weird!
- Put your pie plate with crust on a baking sheet. Carefully pour the hot pumpkin mixture into the crust (be sure you are pouring away from yourself - ask for help if the pot is too heavy.)
- Put the baking sheet with pie in the oven (careful!) and bake for 35 minutes. You'll know it's done when you wiggle the pie pan and the pumpkin mix still moves slightly, but doesn't look shiny-wet. You want it to still be moist.
- Remove the pie from the oven and let it cool on a baking rack. If your pie doesn't look 100% perfect don't worry! Each homemade pie is unique, and in the end people care more about how it tastes! And believe us, it tastes delicious!!


Sounds delicious! Does the filling set up firm enough to do a crust-free dish? I’ve become a lazy gluten free baker.
That’s a great question! It probably would work in a well-buttered glass pie pan. It will be more like pumpkin custard, but should hold a pie shape when you cut it (ours doesn’t flop over when we put a slice on a plate.)
I had some extra filling and put it in crustless ramekins!
That looks soooo good! I might just have to try this. 🙂
Looks so yummy! (Ellen)
Everyone loved the pie filling as “custard”. My husband thought it was better than canned pie too. Thanks for sharing!!