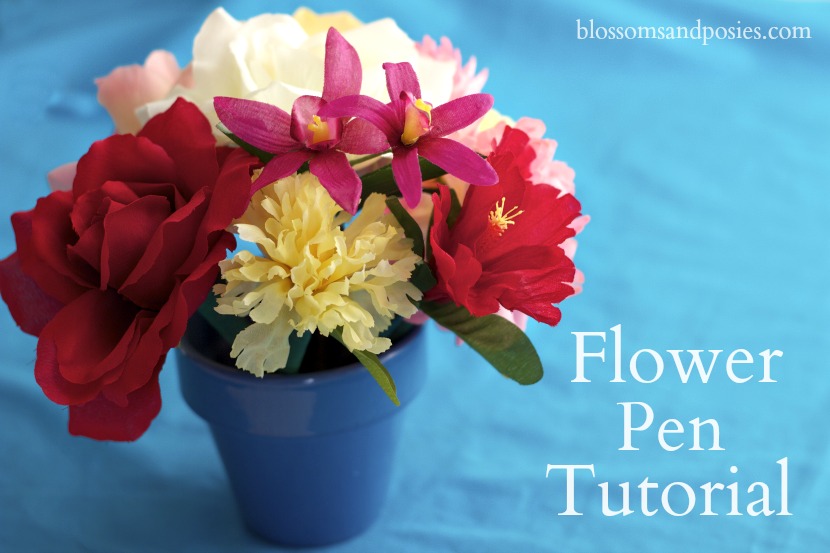
You can grow a garden of these pens in no time! Perfect to give away, adorn a wrapped gift or to add flourish to your writing.
Flower Pen Tutorial
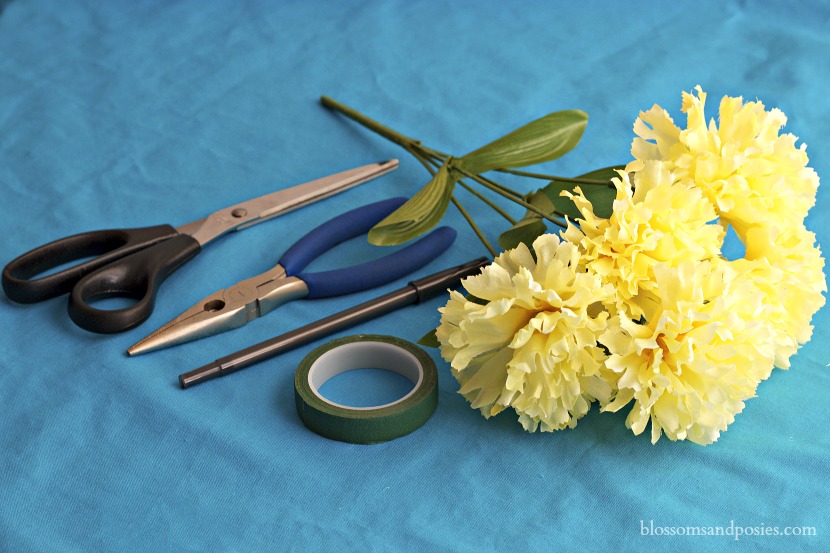
Materials:
artificial flower (long stem and large heads make the best flower pens)
pen
wire cutter
floral tape
scissors
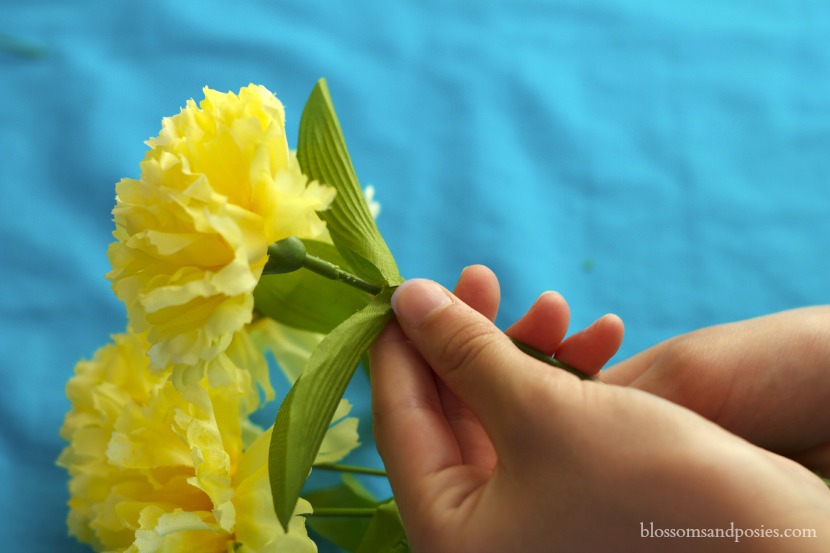
1) Choose which flower in your bunch you would like to use. Slide leaves up to the base of the flower if you wish to keep them, or down to the bottom of the stem if you will be discarding them.
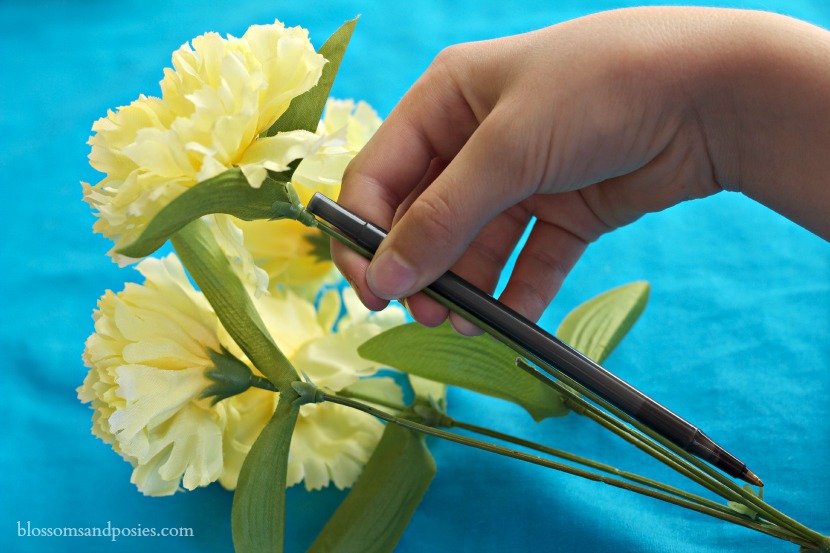
2) Place the pen next to the flower, so that the top of the pen is at the base of the petals/leaves.
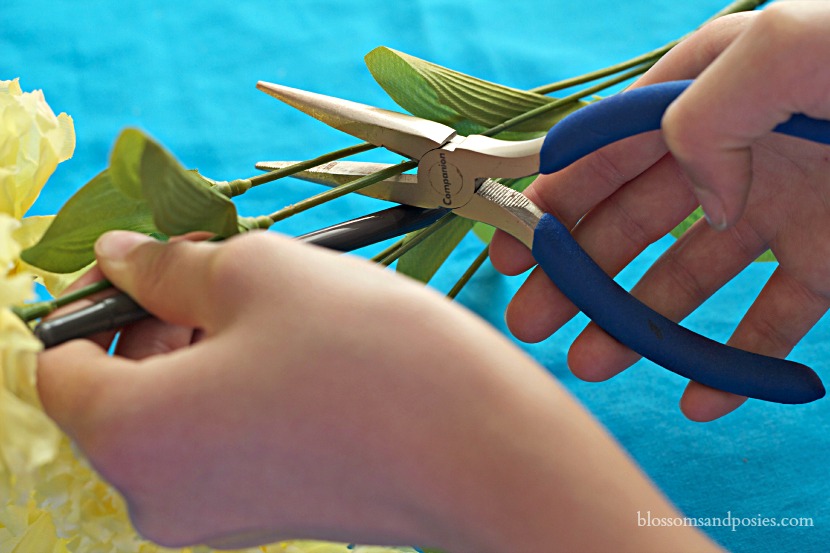
3) Using wire cutters, trim the flower stem so that the bottom of the stem is 1/2 inch above where the pen diameter decreases.
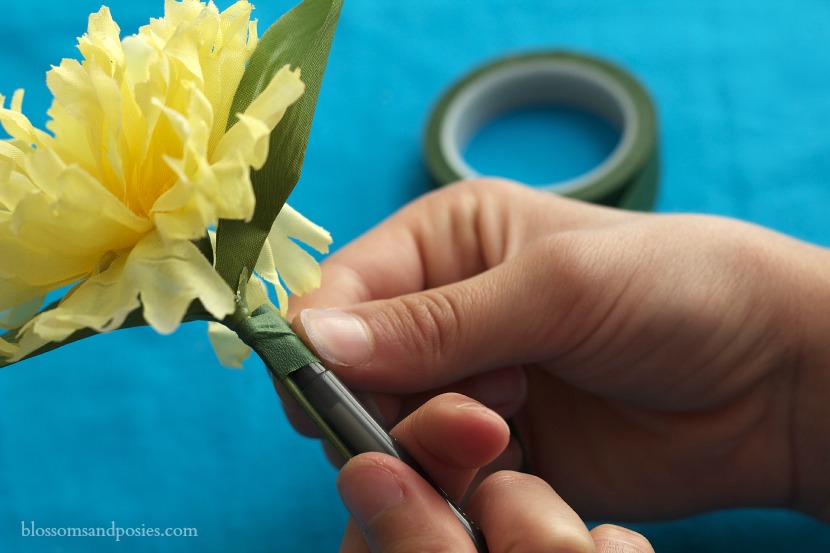
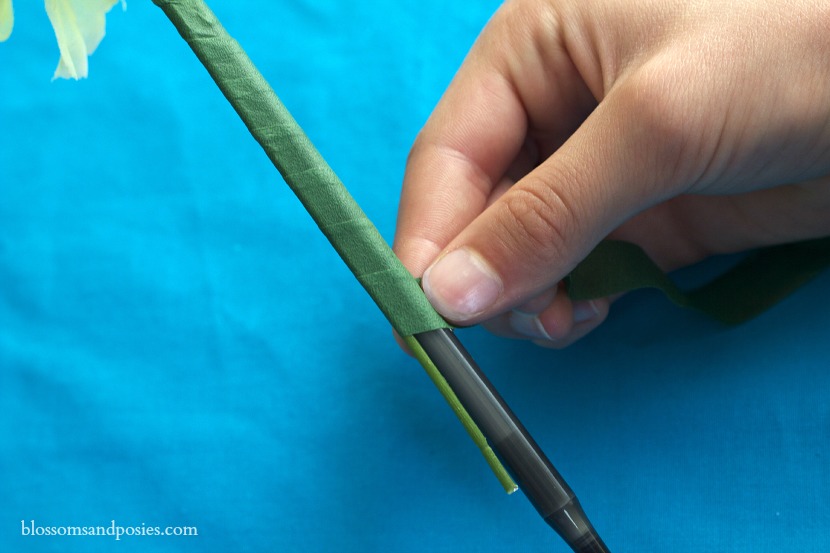
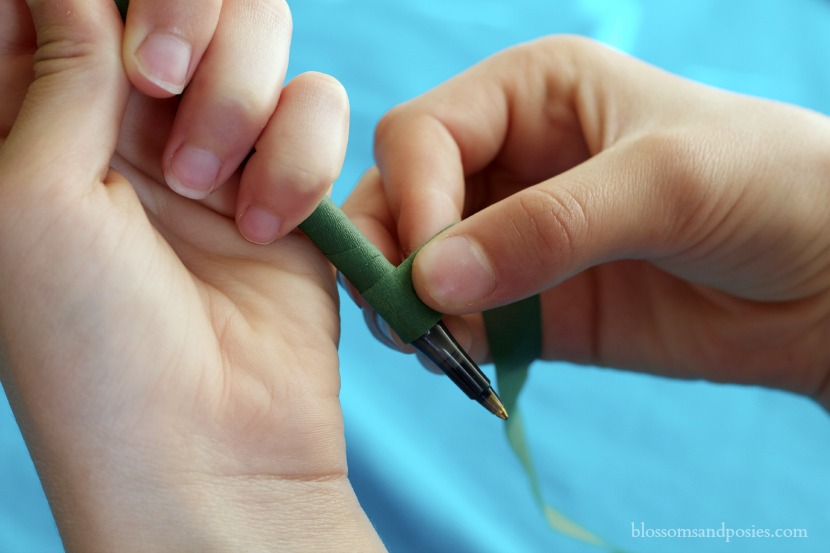
4) With the top of the pen at the base of the petals, join the stem and pen by tightly wrapping floral tape around them, overlapping the tape in a spiral as you move down the pen. Be sure to cover the cut part of the stem several times so it won’t be rough. Cut the end of the floral tape with your scissors, then press the end down firmly on the pen.
For a bouquet, you can make a handful of different colored flower pens!
What is your favorite flower? Leave a comment here.
We’d love to see your flower pen! Send your photo (or link) to blossomsandposies @ gmail dot com and we will add it to our flower wall!
Congrats!
Ellen had such fun making these with you! We know have a whole garden of flowers awaiting their transformation. Thank you for the nice clear instructions!
I had fun making them with Ellen, too!
Oh, this is lovely. I’ll enjoy sharing this with my ten year old, and I can think of a friend or two she (and I) would enjoy making these for!
~Beth (friend of Sandy’s!)
I remeber making this with you and Ellen it was fun doing crafts.