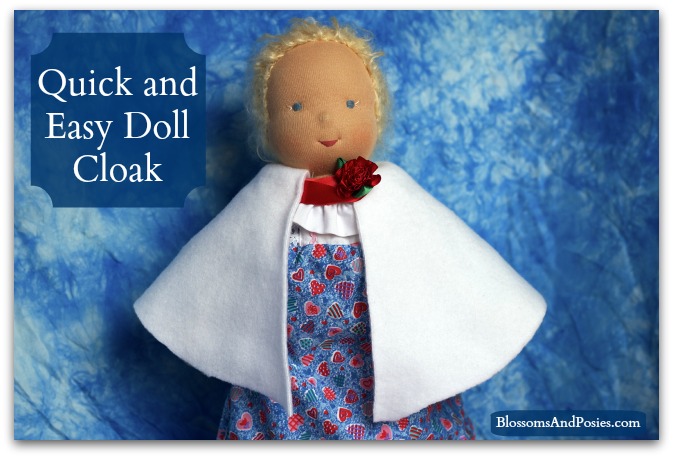
Abbie says: I like working with fleece because you don’t have to hem it and that makes the process go a lot faster. My mom and I came up with this pattern together. My doll Laura is a 14″ Waldorf-style doll.
Mrs. Brown says: This pattern can be adapted to any size doll because you use your own doll’s measurement as the base measurement.
Materials:
Fleece (we used white)
Ribbon (we used red satin 5/8″ ribbon)
Flower (we used a 1″ pre-made red ribbon flower)
Scissors
Thread
Needle
Directions
1) Cut a semicircle of fleece for the cloak. To find the dimensions, measure the distance between your doll’s chin and her ankles. This will be the radius of your semicircle. Double the radius to find the straight edge of the semi-circle. The radius will also be the distance from the straight edge to the outer curve.
2) After you have cut the fleece to the right size, re-measure the straight edge and divide it into thirds. Mark these measurements.
3) Wrap the cloak around the doll, with the curved edge on the bottom and the straight edge going around her neck. Make sure that the front edges are the same length, and that the spots you marked along the straight edge work for where you want to attach a closure under her chin.
4) Cut a 4″ piece of ribbon. Fold the ribbon to make a loop and sew the ends of the loop onto one marked spot on the cloak (you can use a back stitch for this to make it more secure.)
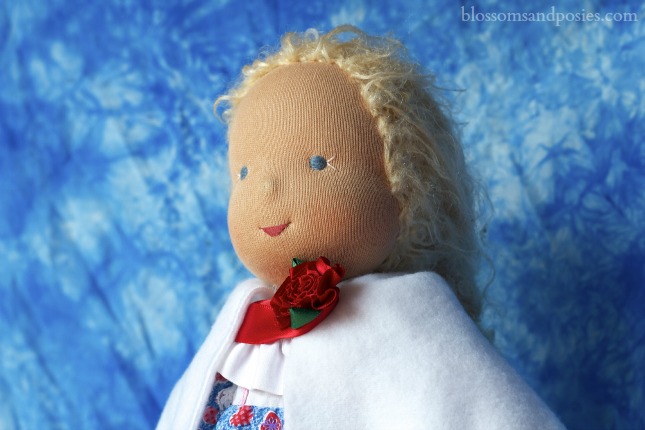
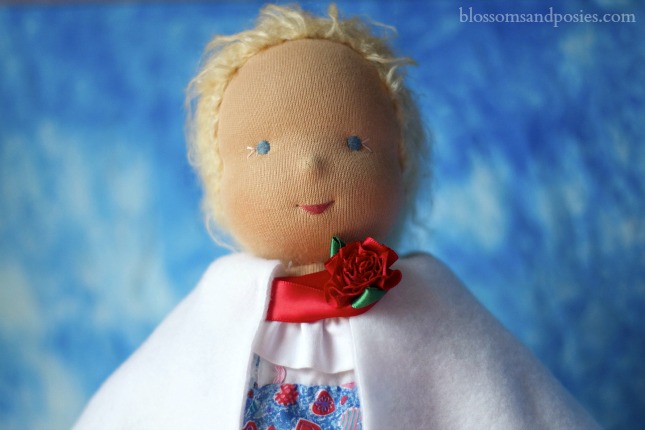
5) Sew the flower onto the other marked spot. Your doll’s cloak is finished!
- Fleece
- Ribbon
- Flower
- Scissors
- Thread
- Needle
- Directions
- Cut a semicircle of fleece for the cloak. To find the dimensions, measure the distance between your doll's chin and her ankles. This will be the radius of your semicircle. Double the radius to find the straight edge of the semi-circle. The radius will also be the distance from the straight edge to the outer curve.
- After you have cut the fleece to the right size, re-measure the straight edge and divide it into thirds. Mark these measurements.
- Wrap the cloak around the doll, with the curved edge on the bottom and the straight edge going around her neck. Make sure that the front edges are the same length, and that the spots you marked along the straight edge work for where you want to attach a closure under her chin.
- Cut a 4" piece of ribbon. Fold the ribbon to make a loop and sew the ends of the loop onto one marked spot on the cloak (you can use a back stitch for this to make it more secure.)
- Sew the flower onto the other marked spot. Your doll's cloak is finished!


Very pretty!
I love it! I’ll have to do this with my little Chloe and Maddie when they get just a little bigger. How fun!