Casting on is the term for putting your first yarn stitches onto a needle for knitting. It is the very first thing you will do when you knit.
There are a number of ways to cast on. Here we demonstrate the long tail cast-on, which gives a nice stretchy edge. This is especially useful for hats and sweaters, which need to expand when you put them on. It is also just a good basic cast on, so we use it for almost everything we make, even non-clothing items.
Abbie insisted that I (Mrs. Brown) do this demo, so for the first time on our blog you’ll see my hands instead of hers! She also asked Caeleb (her big brother and our web guy) to take the photos… thanks Caeleb! We’re working Abbie up in confidence to demo some knitting as well as shoot photos – don’t be surprised if you see her at it soon!
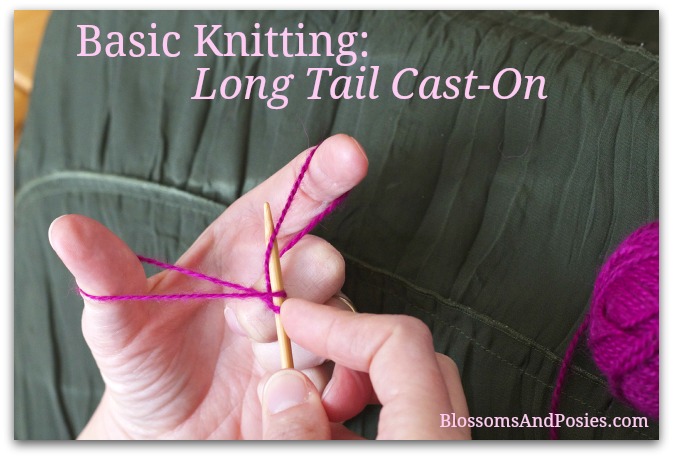
Long Tail Cast-On
please note that these instructions are for right-handed knitters
Materials:
Yarn
Knitting needle
Instructions
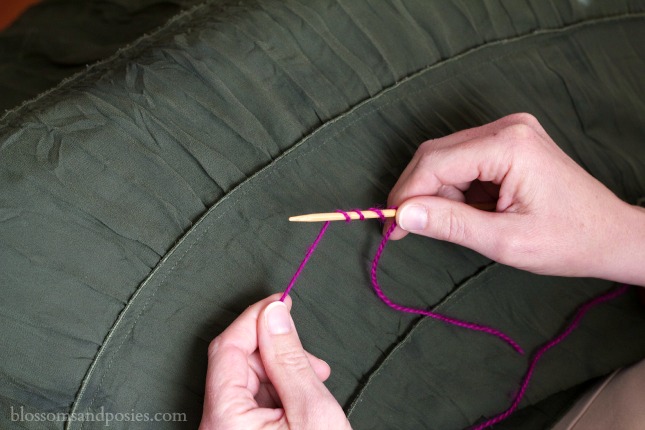
Hold your yarn about 6 inches from the end – those 6 inches are your tail. Using the side of the yarn leading to the yarn ball, wrap the yarn around the needle as many times as the number of stitches you want to cast on. So if your pattern calls for 20 stitches, wrap the yarn around the needle 20 times.
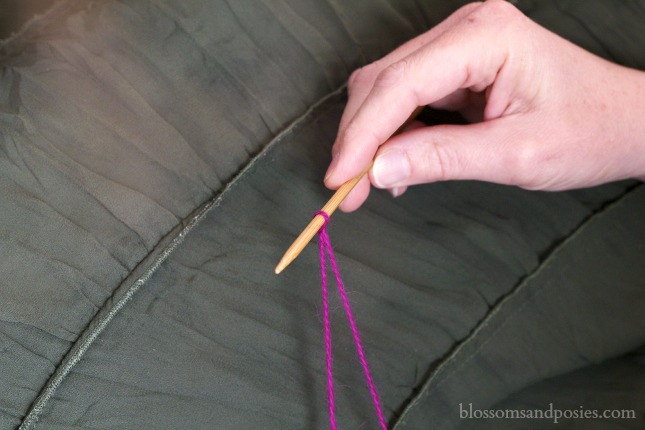
With the hand that was wrapping the yarn, take the yarn back off the needle holding to yarn at the point where you stopped wrapping. Make a slip knot at the point in the yarn where you have removed it from the needles. Put the slip knot on the needle, with the tail facing you and the working yarn (which leads to the yarn ball) facing away from you.
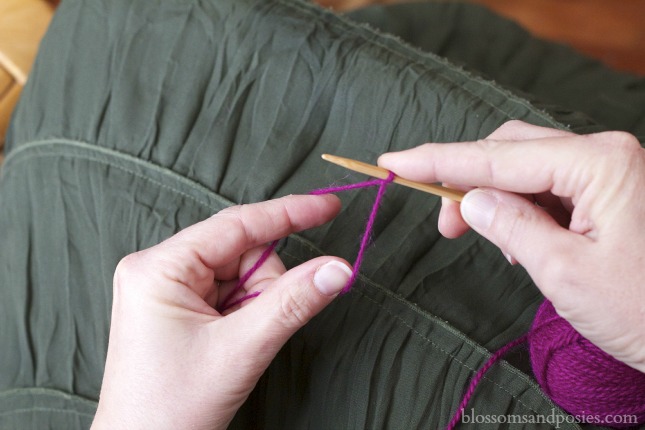
Hold the needle horizontally so that the yarn hangs down vertically. With your opposite hand, grab the hanging yarn, then put your thumb and index finger between the two strands, while still holding the yarn with your other fingers.
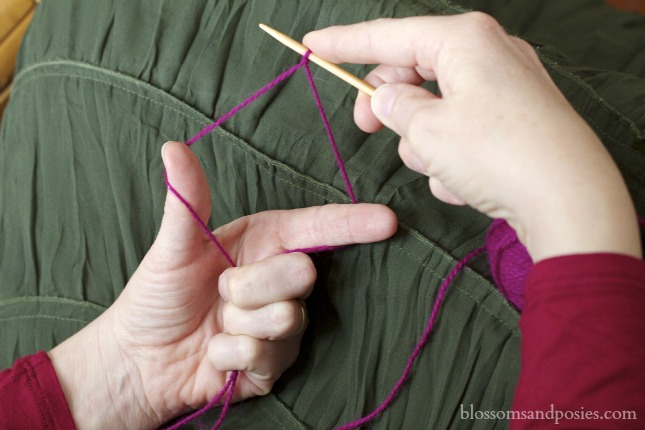
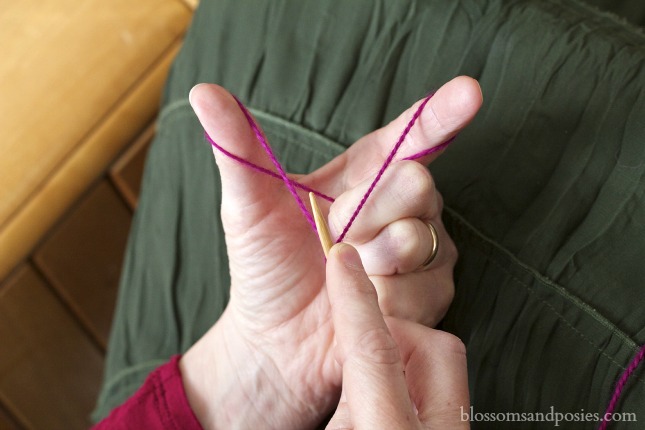
Open the two fingers to create a diamond. The top of the diamond will be your needle, the sides will be your index finger and thumb, and the bottom will be the rest of your fingers.
Move the needle down so that you are making a v-shape with the yarn.
Now you are ready to cast on. This is the pattern for one stitch. You will repeat as many times as you need to:
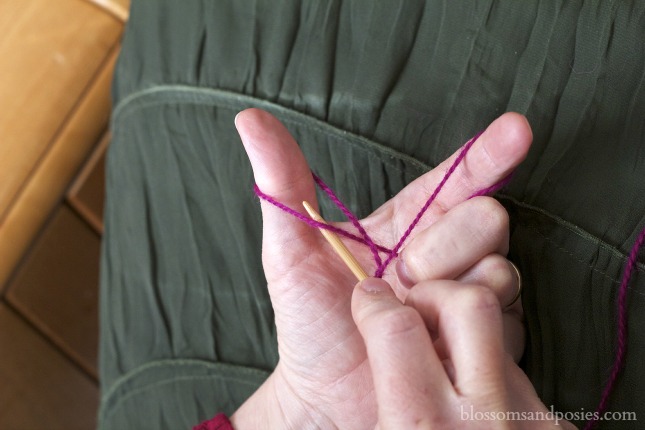
1) Move the point of the needle down and to the left, then bring it up and through the thumb loop
2) Move the needle up and over the right loop (index finger) then turn it back to the left and down through the index finger loop.
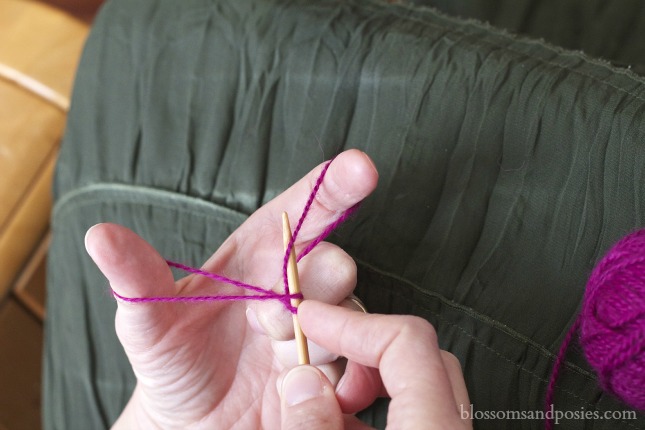
3) Continue to the left and all the way back through the thumb loop again and out.
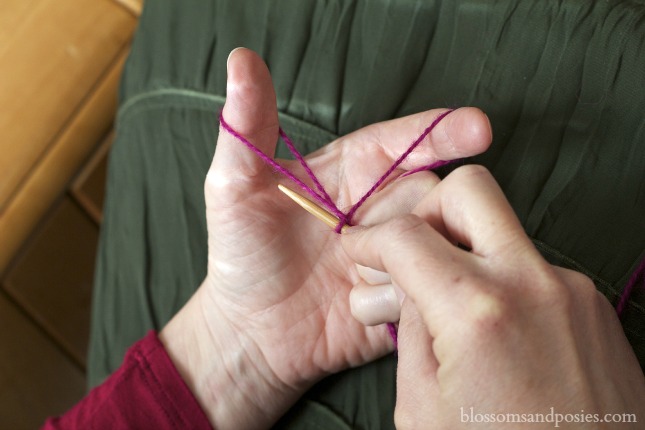
4) Drop the thumb loop and gently tighten the stitch on the needle
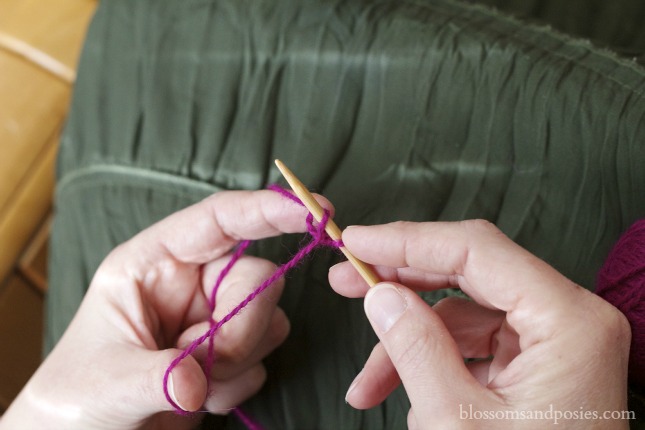
5) Repeat for as many stitches as you need to cast on.
Caeleb and I had fun doing this together. Here’s his version of one part of the long tail cast-on: “Then you take the yarn and take one side and put it around this finger and take the other side and put it around this finger and then grab it. Then you take the needle and put it through and put it through this way and this way and the other one the other way and then let go of the other one and then slip it up then grab the other one and do it like before!” He makes me laugh!
We also shot a video because sometimes it’s easier to learn when you see it in motion. Abbie was the camera girl for that – yay! We are having some technical difficulties getting the video uploaded, but we will add it as soon as we conquer!
UPDATE: We did it! Here’s the tutorial-in-motion. And yes, we learned quite a bit… for example probably next time we won’t have the background be my green skirt as I sit cross-legged on a chair. Teehee. And more light, yes, more light. This is how we do life.. we try it and learn as we go. It’s all fun because we are doing it together!
- Yarn
- Knitting needle
- Hold your yarn about 6 inches from the end - those 6 inches are your tail. Using the side of the yarn leading to the yarn ball, wrap the yarn around the needle as many times as the number of stitches you want to cast on. So if your pattern calls for 20 stitches, wrap the yarn around the needle 20 times.
- With the hand that was wrapping the yarn, take the yarn back off the needle holding to yarn at the point where you stopped wrapping. Make a slip knot at the point in the yarn where you have removed it from the needles. Put the slip knot on the needle, with the tail facing you and the working yarn (which leads to the yarn ball) facing away from you.
- Hold the needle horizontally so that the yarn hangs down vertically. With your opposite hand, grab the hanging yarn, then put your thumb and index finger between the two strands, while still holding the yarn with your other fingers.
- Open the two fingers to create a diamond. The top of the diamond will be your needle, the sides will be your index finger and thumb, and the bottom will be the rest of your fingers.
- Move the needle down so that you are making a v-shape with the yarn. Now you are ready to cast on. Steps 6-9 are the pattern for one stitch.
- Move the point of the needle down and to the left, then bring it up and through the thumb loop
- Move the needle up and over the right loop (index finger) then turn it back to the left and down through the index finger loop.
- Continue to the left and all the way back through the thumb loop again and out.
- Drop the thumb loop and gently tighten the stitch on the needle
- Repeat for as many stitches as you need to cast on.

Oh! I had forgotten about the trick of wrapping the yarn around the needle to measure out your cast on yarn. That will save me big headaches!