The back stitch is commonly used for securing two pieces of fabric together. It is a strong stitch. I use it for inside seams where it can’t be seen. I like to double my thread when I do a back stitch, but you don’t have to. – Abbie
How to Sew a Back Stitch
Materials:
fabric
needle
thread
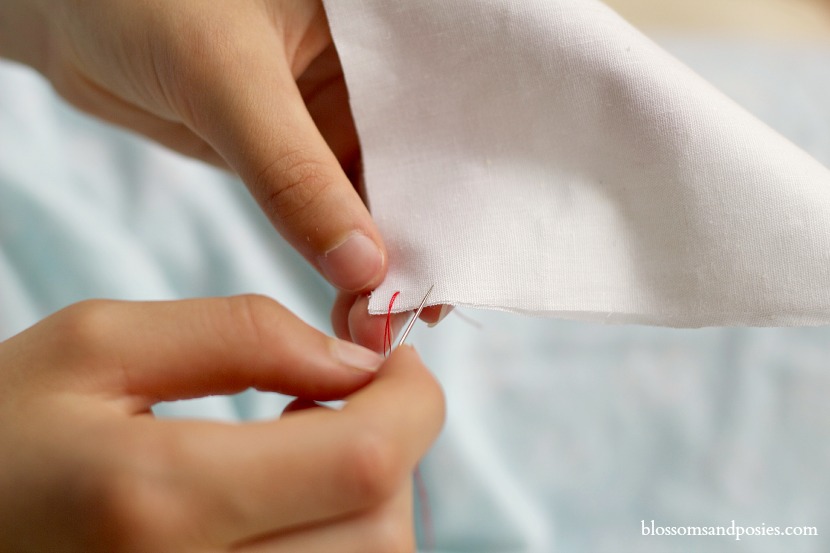
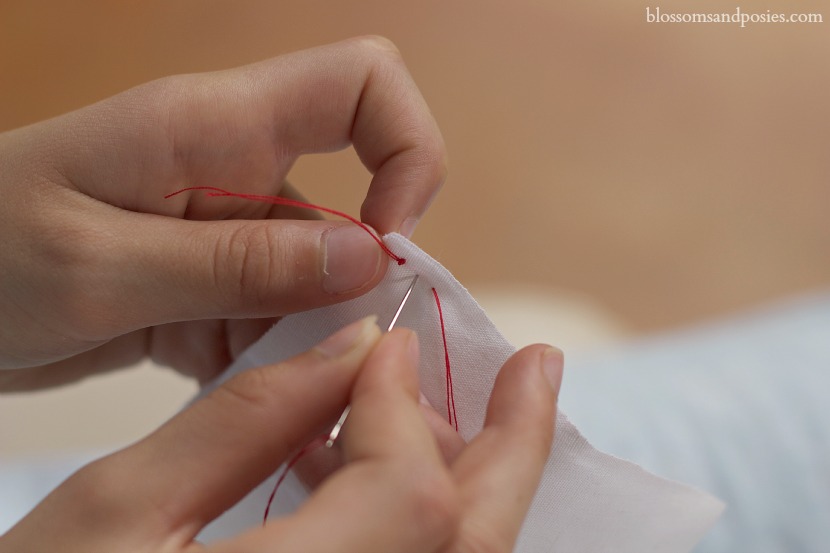
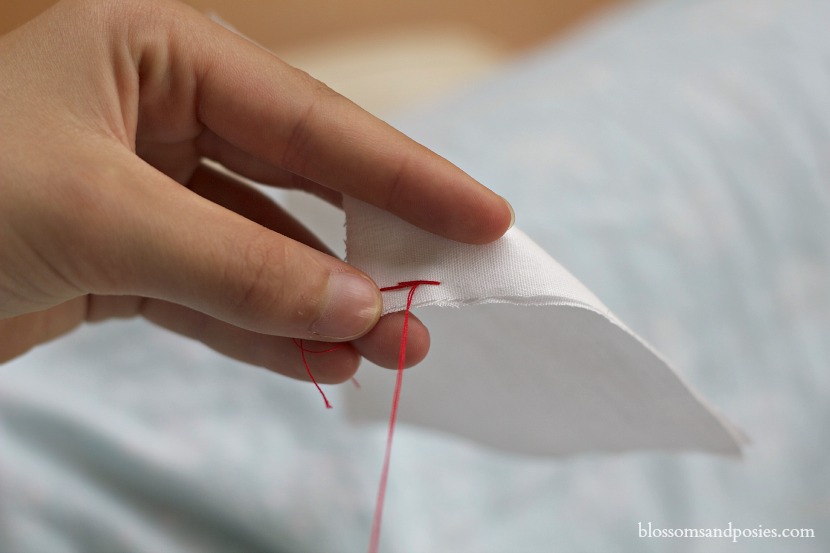
1. Thread your needle, then tie a knot in the thread. Make sure that your pieces of fabric are aligned; you can pin them if necessary. Push the needle up through the fabric from the bottom and pull the thread through.
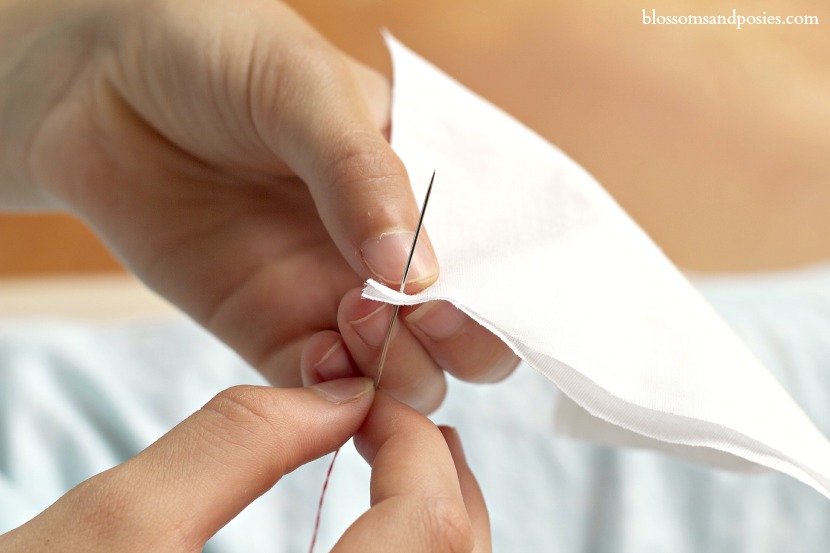
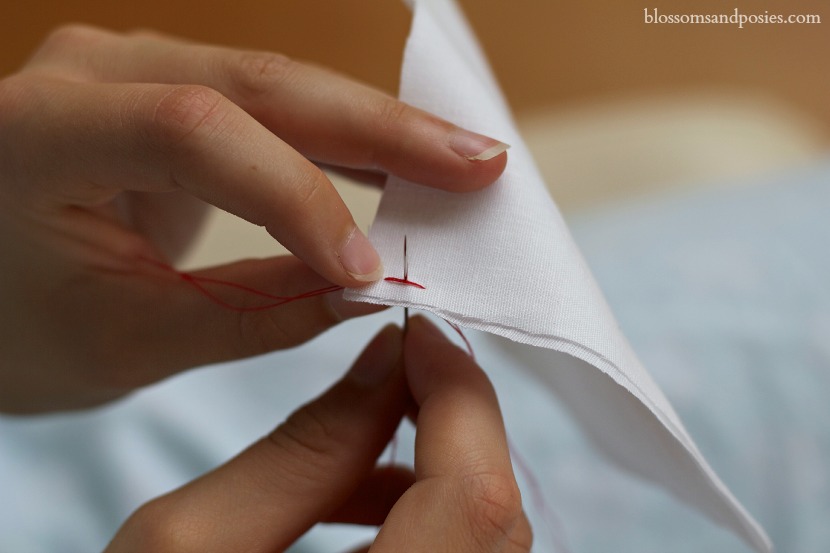
2. Poke your needle down through the fabric about 1/4″ from where your thread came up. Pull the thread all the way through.
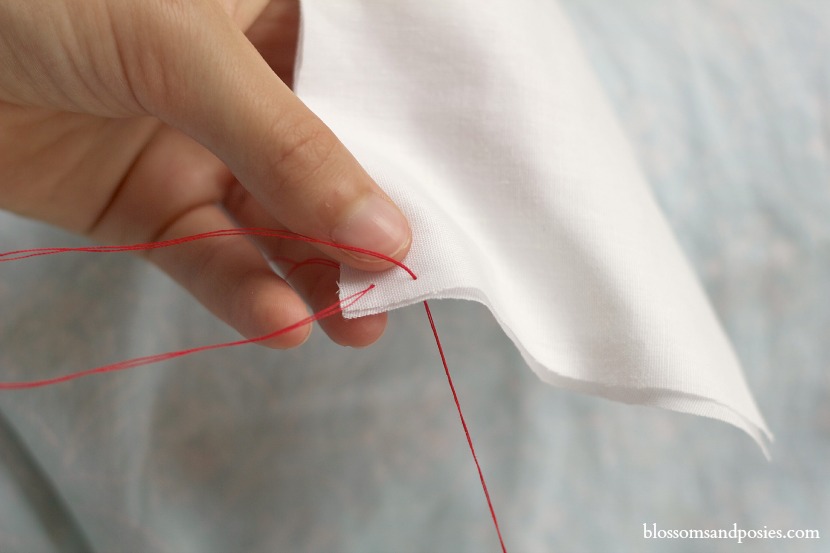
3. Put the needle back up through the fabric in the middle of the original stitch and pull the thread through.
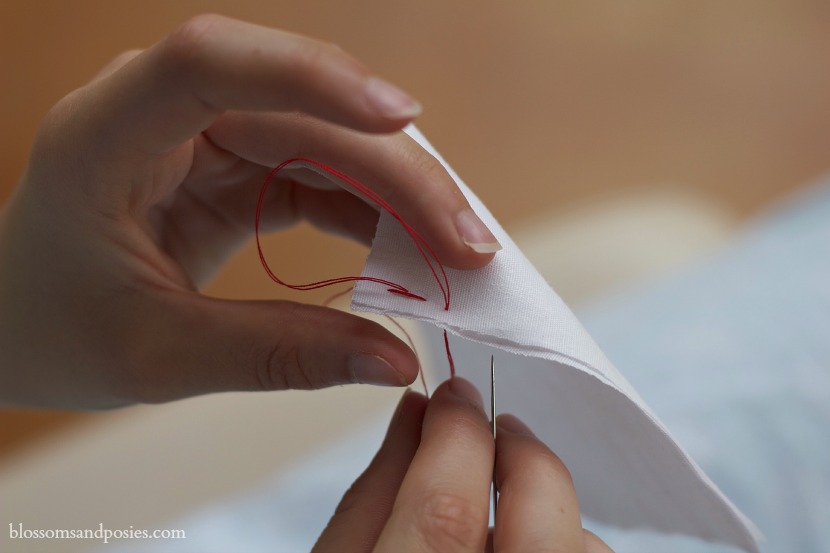
4. Make another 1/4″ stitch, ending halfway past the last stitch.
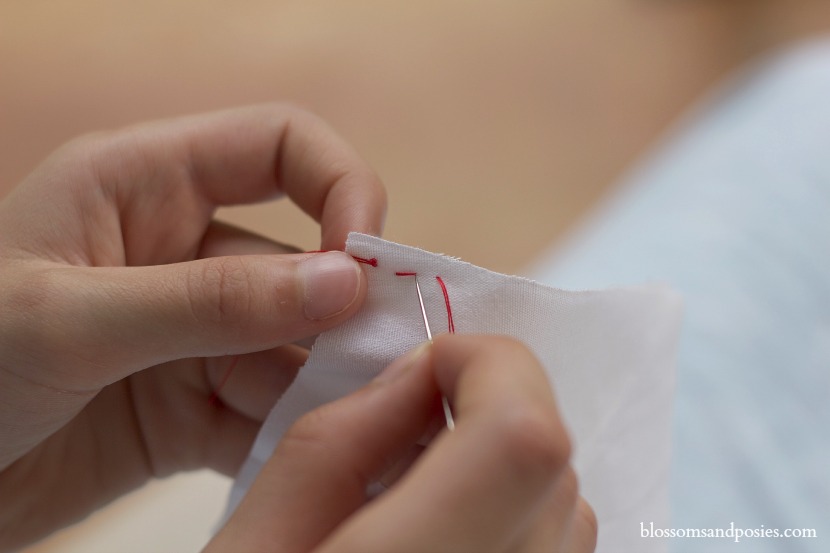
5. On the bottom of the fabric, place your needle right next to the closest point of the previous underside stitch. Pull the thread through. You’ll see on the top that you come out in the middle of the previous topside stitch.
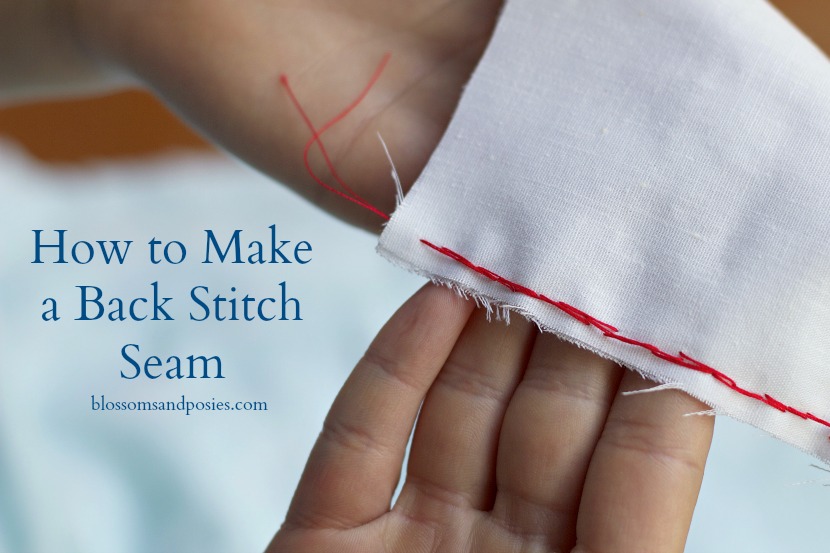
6. Repeat steps 4 and 5 until you have finished the seam. Sometimes it’s hard to make the stitches lie straight; if it is important to you you could draw a line with a ruler to help you keep the stitches aligned. Tie off in a knot and break the thread. And now you have a very strong seam!
Nice clear instructions, Abbie! Just yesterday Ellen said she wanted to learn to hand sew!
Excellent instructions Abbie. Beautiful photography Mrs. Brown.