disclosure: affiliate links present
Can you imagine the excitement when a copy of How to Make 100 Paper Flowers arrived in our mailbox? We were given the opportunity to review this book, and oh my were there two happy girls when we opened it!
Yes, those bookmarks are all projects Abbie must urgently try.
This is an easy book for us to review – we love it! Abbie is still swooning over the beautiful flowers: “Some of them are SO realistic!” I (Mrs. Brown) am swooning over the gorgeous photos, and delighted that Abbie is going to fill up our house with flowers that won’t die!
Maria Noble has created projects that vary in difficulty, as well as materials. She provides instructions for creating flowers from crepe paper, tissue paper, origami paper, cupcake liners and more! Most of the projects Abbie was chomping at the bit to try use crepe paper, but we didn’t have any on hand and needed to order it. So we looked to see what she could make while we wait for the crepe to arrive.
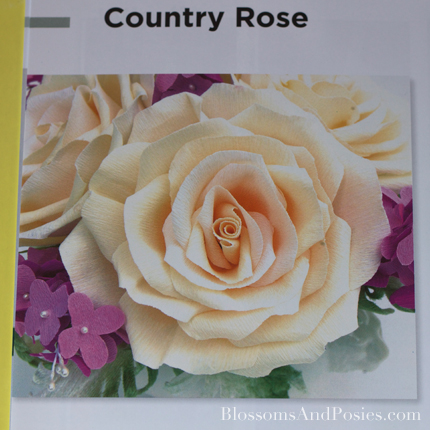
We decided to create a poinsettia (it’s that time of year!) based on several of Maria’s patterns. This is a more folksy/interpretive flower, as opposed to dazzlingly realistic doublette crepe flowers like these from the book:
The flower uses the Origami Sunburst pattern in How to Make 100 Paper Flowers. And the leaves are reduced version of the Magnolia Leaf. Maria has given us permission to publish these instructions, including a printable template for the leaves.
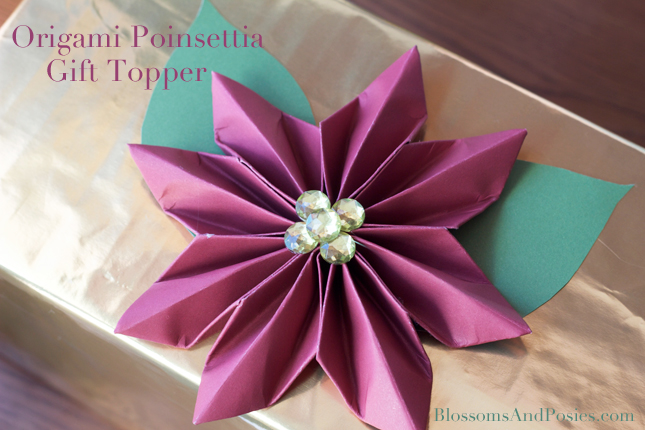
We think this flower makes a gorgeous and elegant gift topper, in lieu of a bow or ribbon. If you’re not sure how to tidily wrap a package, check out our gift wrapping tutorial.
Is there someone special in your life who would be blessed by an extra fancy gift topper?
Origami Poinsettia Gift Topper
Materials
- one 12″x12″ piece of red cardstock
- one 12″x12″ piece of green cardstock
- leaf template
- glue gun
- yellow/gold sequins or gems
Directions
Cut the red 12″ x 12″ card stock into four 6″ x 6″ pieces
To make one pair of petals:
1) Fold one 6″ x 6″ square in half. Open to see the crease in the center (no picture of this – oops!)
2) With the crease running vertically, fold both the left and the right sides in to meet along the center crease. You should have a rectangle as below.

3) Fold the four corners inward to to match the center line, creating a tapered top and bottom.

4) Flip over. Fold each long end in again to meet the center crease.
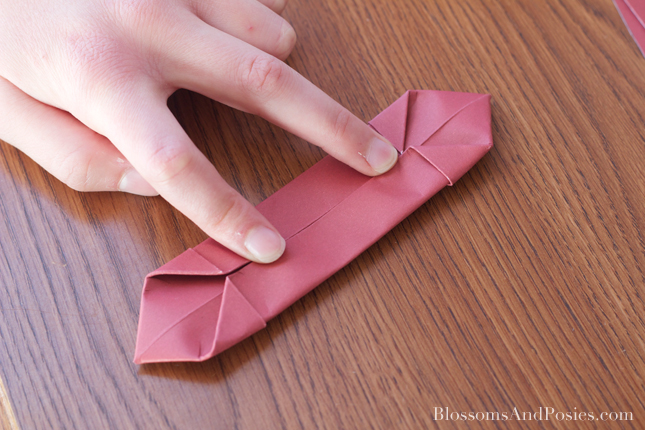
5) Fold the paper backwards along the original crease

6) Fold paper in half (point to point) to create two petals
To form the flower:
Make a total of four pairs of petals, using all your red card stock.
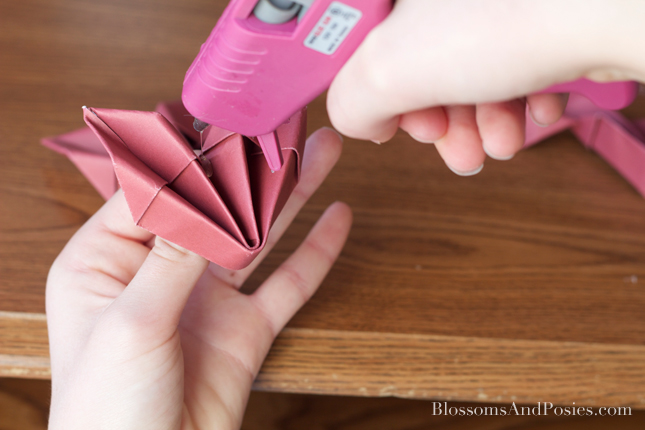
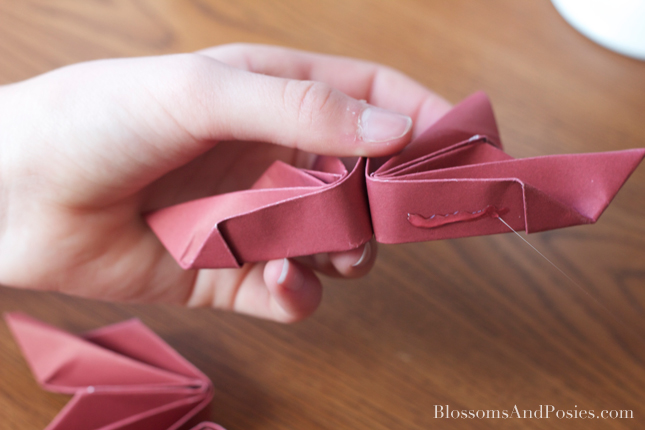
Glue the petals in each pair together, around the center (you can glue lower if you prefer):
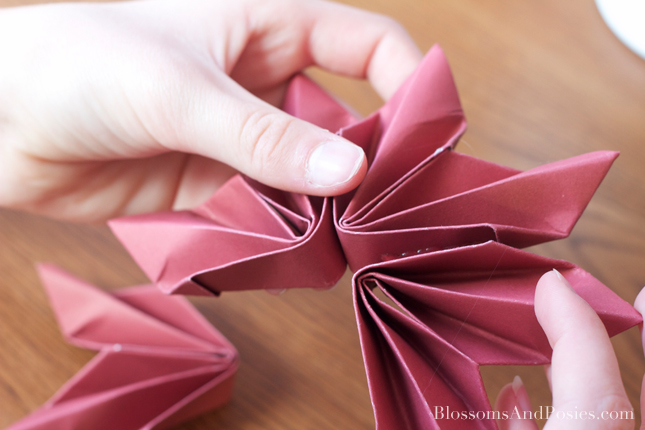
After all four pairs of petals have been glued, join the pairs to form a flower:
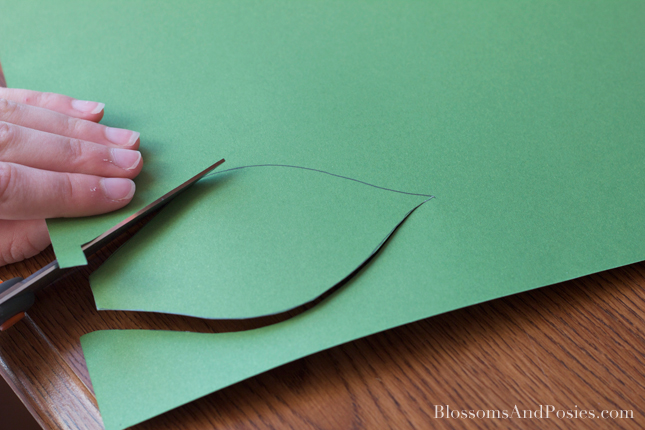
Cut out two leaves, using the poinsettia leaf template. This is a reduced version of the pattern for Magnolia Leaves from How to Make 100 Paper Flowers, which is provided here with author Maria Noble‘s permission (thank you Maria!)
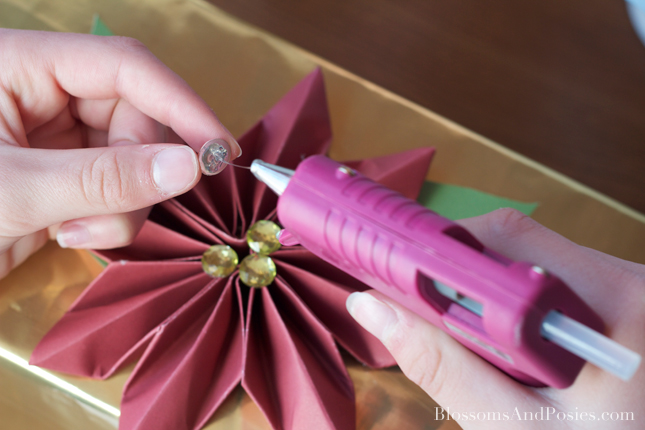
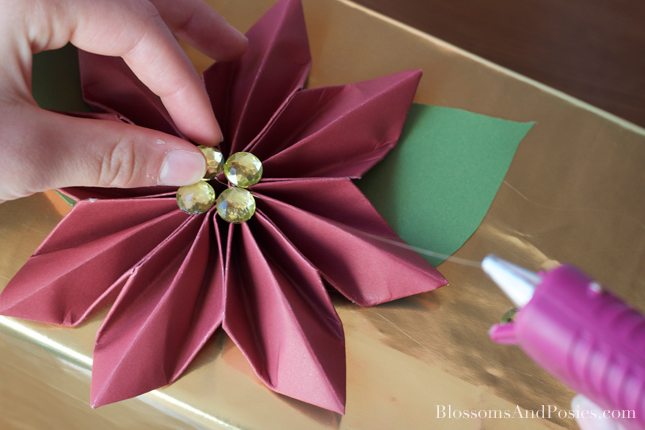
Glue the leaves either onto the gift directly, or onto one side of the flower, then attach flower to gift. Glue on sequins or gems.
Check out Maria’s blog for more gorgeous flower making tutorials, or better yet, buy a copy of her book!



awesome!!! I love the flower so happy to hear you like the book! will be sharing on my blog soon.
Maria Noble
Great tutorial!
I made it with my son, although a smaller size. But it turned out really well. Thank you for the tutorial.