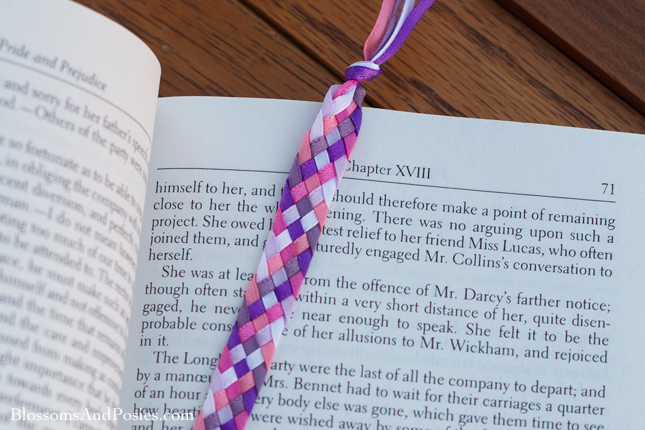
One day Abbie sat down with some ribbon, fiddled around for a bit, and produced this pretty bookmark. It lies nice and flat in books, and can be made in up to six colors. To make it extra fancy, you could add charms to the ends. Moms will be happy to learn that the supplies for this project cost a whopping 25¢!

Materials
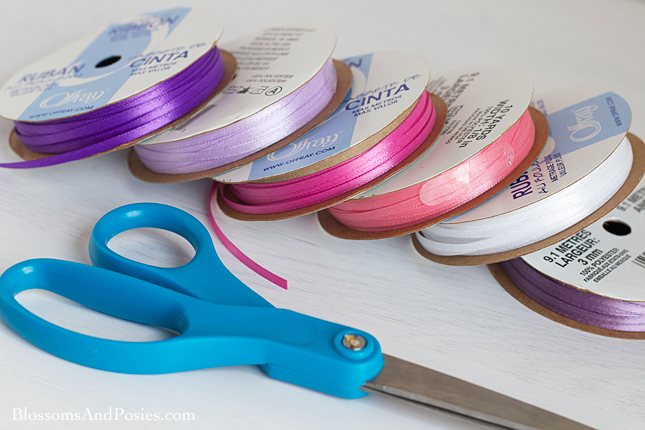
- 6 spools of 1/8″ satin ribbon
- Scissors
Directions
Step 1:
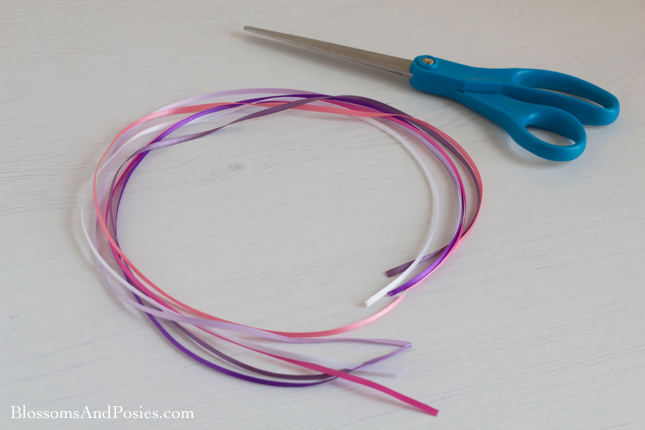
Cut six equal pieces of ribbon, one of each color.
Step 2:
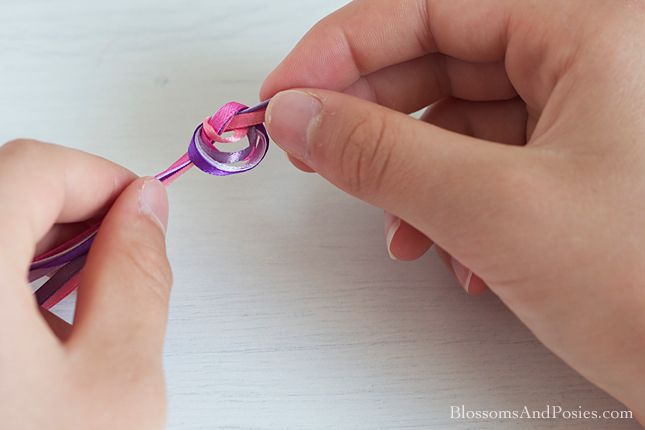
Layer the ribbons on top of each other and tie a knot in one end.
Step 3:
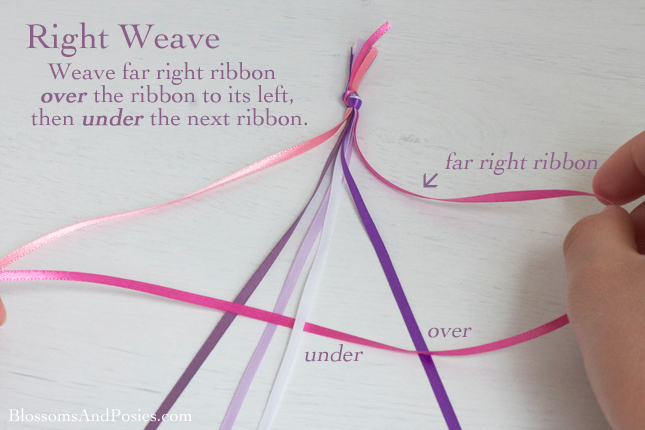
Spread the ribbons out from the knot so that you can see each individual ribbon. Pick up the ribbon on the far right and weave it over the ribbon to its immediate left and then under the next one, stopping at the middle.
Step 4:
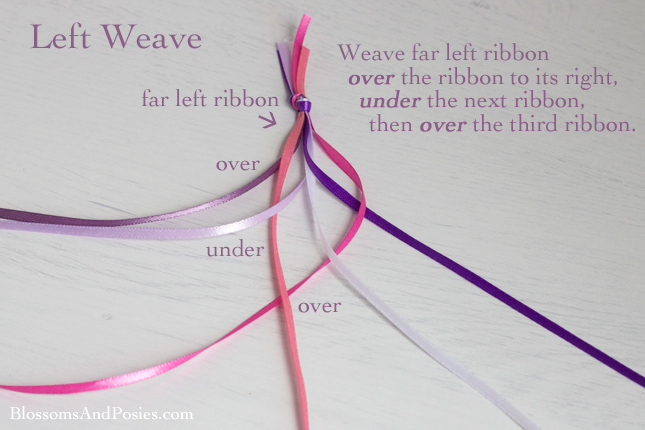
Pick up the ribbon on the far left and weave it over the ribbon to its right, under the next ribbon and over the third ribbon, stopping again in the middle.
Step 5:
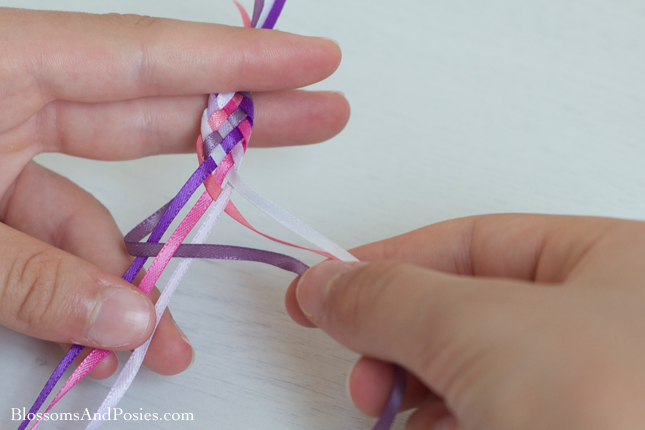
Continue alternating the right weave (over-under) with the left weave (over-under-over). As you get further down, it will be a little easier to handle. Here is how Abbie holds it while she is weaving:
Step 6:
When your bookmark is the length you want, tie another knot to finish, and trim the ends. Sometimes the bookmark curls at first; you can just iron it a little until it lies flat.
- 6 spools of ribbon
- Scissors
- Cut six equal pieces of ribbon, one of each color.
- Layer the ribbons on top of each other and tie a knot in one end.
- Spread the ribbons out from the knot so that you can see each individual ribbon.
- Right weave - Pick up the ribbon on the far right and weave it over the ribbon to its immediate left, and then under the next one, stopping at the middle.
- Left weave - Pick up the ribbon on the far left and weave it over the ribbon to its right, under the next ribbon and over the third ribbon, stopping again in the middle.
- Continue alternating the right weave (over-under) with the left weave (over-under-over). As you get further along, it will be a little easier to handle.
- When your bookmark is the length you want, tie another knot to finish, and trim the ends. Sometimes the bookmark curls at first; you can just iron it a little until it lies flat.

That is so pretty, Abbie! I am seriously impressed!