Okay, so this is crazy exciting! EEEEE! (sorry for shouting!) We are superdeeduperdee happy today to bring you our very first guest post on Blossoms and Posies!
And while that is exciting in itself, having these two ladies on our blog makes us just feel all wiggly inside because they are two of our very favorite people in the whole wide world! – Abbie and Mrs. Brown

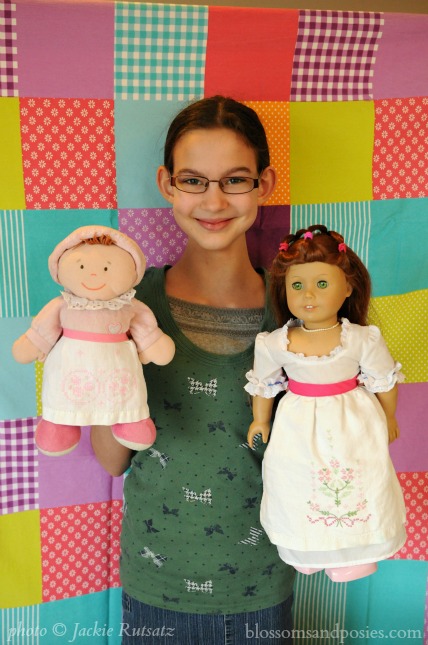
Hi! I’m Ellen. Abbie and Mrs. Brown invited me and my mom to do a guest post here. So my mom and I are going to show you how to turn a small hand towel into a doll apron. But before we begin, here are a few things about me:
I’m 12 years old.
I’m homeschooled.
I’m a Christian.
I like to sew.
Abbie is my best friend!

Hi I’m Mrs. Anker. I guess I should introduce myself, too! I’m Ellen’s mom, I homeschool her and her older brother and younger sister, I’m a Christian, and Mrs. Brown is my best friend. Wow! Ellen and I have a lot in common! I also really enjoy taking old items that I can’t use and giving them new life.
Recently we found a small linen hand towel that Ellen’s Grandma had embroidered. It didn’t really work as a towel for our family, but we didn’t want to get rid of it, either. We decided to turn it into an apron for one of her dolls. We turned a second towel into an apron for a little friend’s doll. That’s what you’ll see us do here.
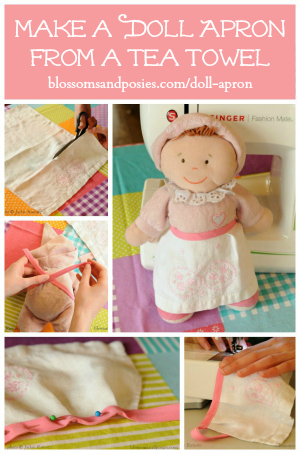
Make a Doll Apron from a Tea Towel
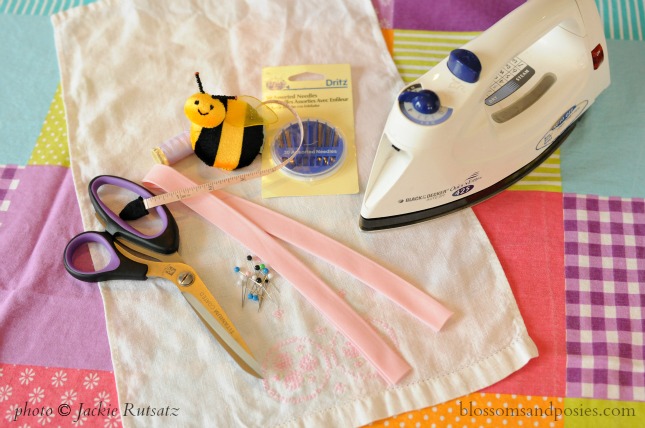
What you’ll need:
Small Tea Towel (or fabric)
Sewing Scissors
Measuring Tape (optional)
Bias Tape
Pins
Needle and Thread or a Sewing Machine
Instructions:
First, find an old tea towel. If you don’t have one, you can use any fabric. Iron your fabric to smooth out the wrinkles.
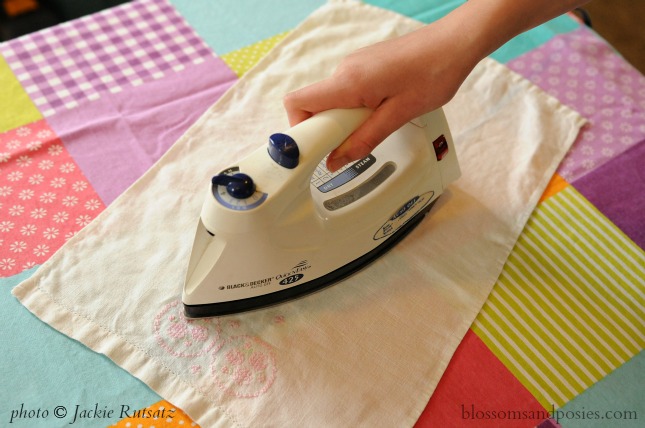
Ellen: I really like ironing! I like it so much that I iron our cloth napkins and anything we need ironed for sewing projects, whether I’m sewing them or not!
Mrs. Anker: It’s a good thing Ellen likes to iron, because it’s definitely not one of my favorite jobs!
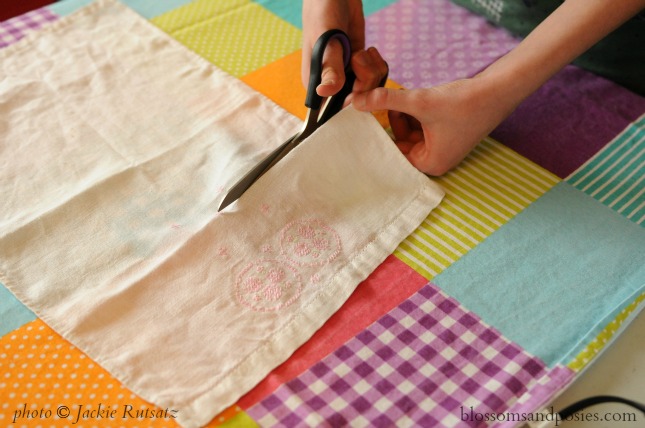
Decide how long you want your doll’s apron to be and cut it. You can measure your doll to help you decide how long you want it (this is where the tape measure comes in handy), or you can simply hold the fabric up to your doll.
You can use a rotary cutter on a cutting mat, or you can just use fabric scissors to cut a straight line.
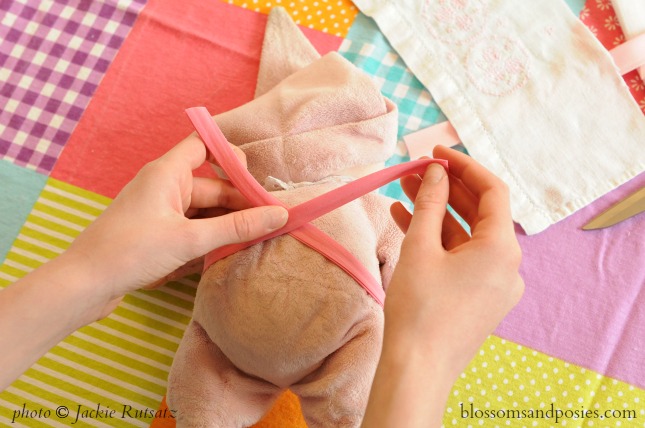
Cut a length of bias tape long enough to go around your doll’s waist and tie in the back.
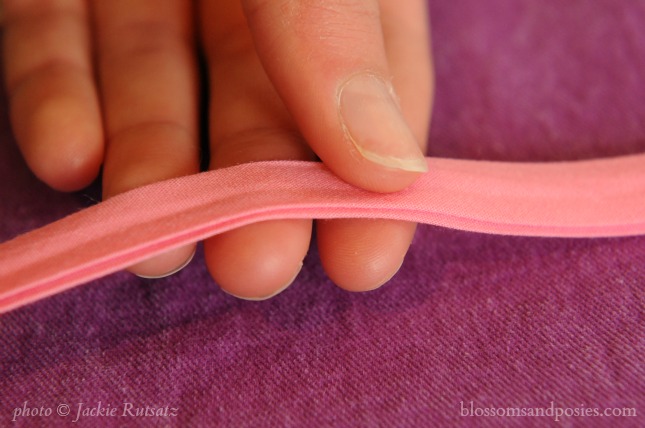
Ellen: We recently learned that one side of the bias tape is narrower than the other. So if you put the narrower side on top you know you are catching both sides of the bias tape.
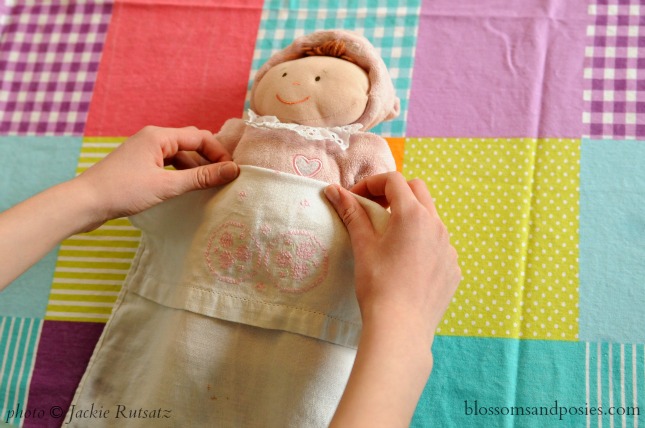
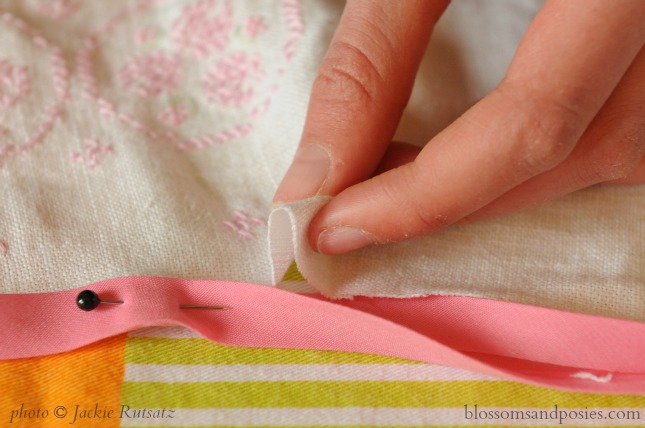
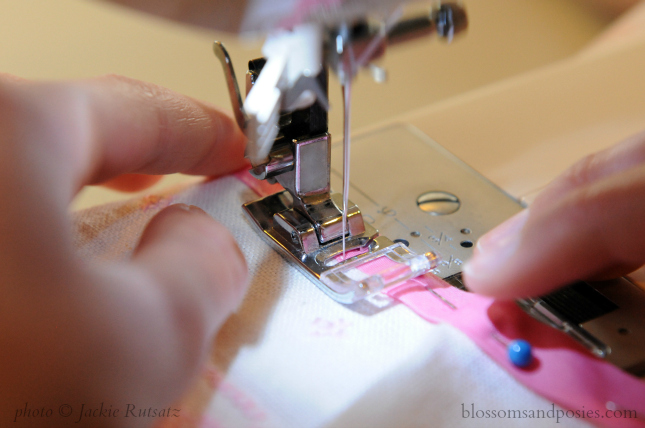
Unfold the bias tape and slide the top of the fabric in. Bring the fabric’s cut edge right up to the inner fold of the unfolded bias tape.
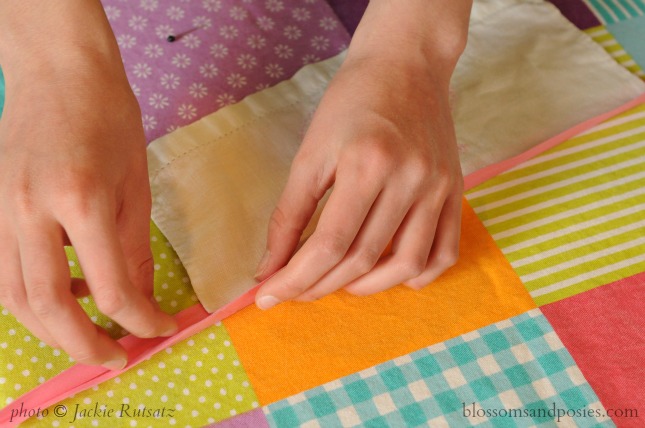
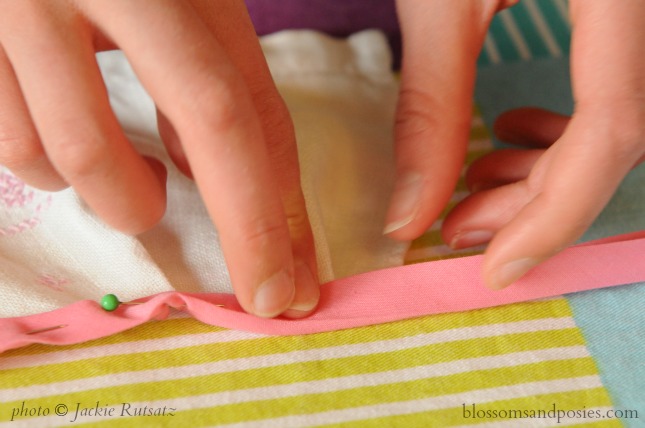
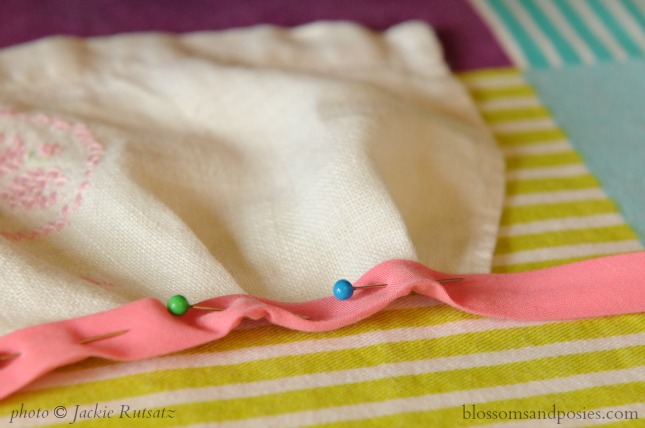
Pin the bias tape onto the cut edge. We like bias tape because we don’t have to worry if we cut the edge a little wonky. It hides the mistakes! Start pinning in the middle and go toward the outside, first one direction, then the other. As you pin, include small folds to make the apron top gather.
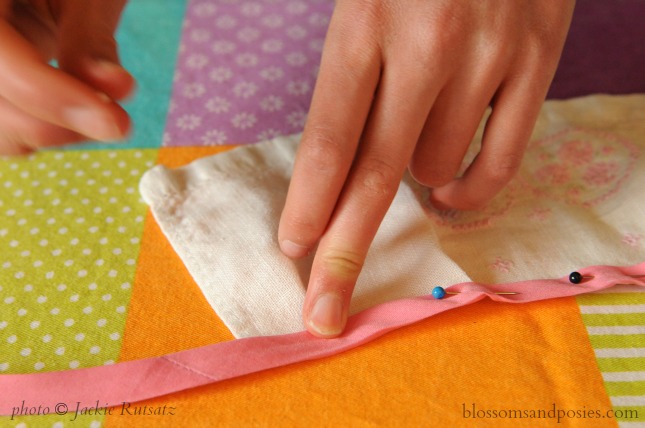
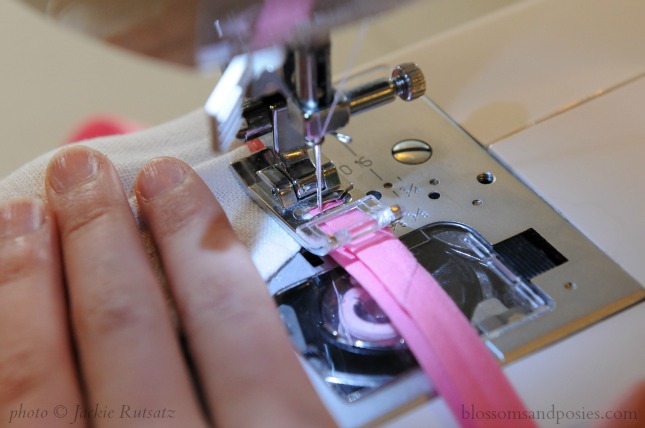
Sew the bias tape to the fabric along the edge farthest away from the fold, either with a sewing machine or by hand.

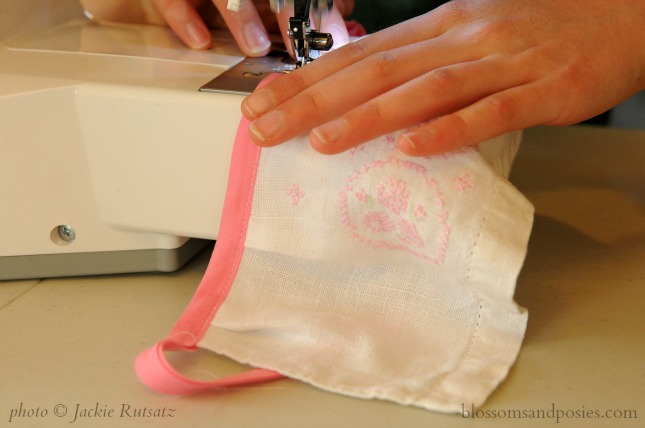
Remember to back stitch at each end so that the thread doesn’t come undone.
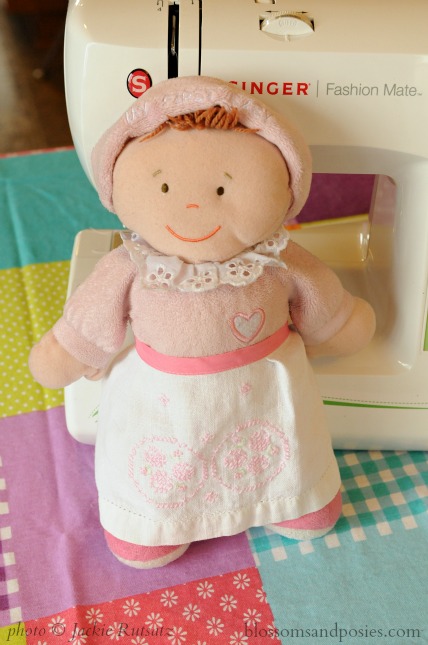
You’re done! Now your doll can wash the dishes. 🙂
Mrs. Brown: Thank you so much Ellen and Mrs. Anker! We’re sooo happy you came by for a visit! <mwah!>
Abbie: What a great idea to reuse old towels! I have to try this out some time. Thanks!

- Small Tea Towel (or fabric)
- Sewing Scissors
- Measuring Tape (optional)
- Bias Tape
- Pins
- Needle and Thread or a Sewing Machine
- First, find an old tea towel. If you don’t have one, you can use any fabric. Iron your fabric to smooth out the wrinkles.
- Decide how long you want your doll’s apron to be and cut it. You can measure your doll to help you decide how long you want it (this is where the tape measure comes in handy), or you can simply hold the fabric up to your doll.
- You can use a rotary cutter on a cutting mat, or you can just use fabric scissors to cut a straight line.
- Cut a length of bias tape long enough to go around your doll’s waist and tie in the back. One side of the bias tape is narrower than the other. If you put the narrower side on top you know you are catching both sides of the bias tape when you sew.
- Unfold the bias tape and slide the top of the fabric in. Bring the fabric's cut edge right up to the inner fold of the unfolded bias tape.
- Pin the bias tape onto the cut edge. We like bias tape because we don’t have to worry if we cut the edge a little wonky. It hides the mistakes! Start pinning in the middle and go toward the outside, first one direction, then the other. As you pin, include small folds to make the apron top gather.
- Sew the bias tape to the fabric along the edge farthest away from the fold, either with a sewing machine or by hand.
- Remember to back stitch at each end so that the thread doesn’t come undone.
- You’re done! Now your doll can wash the dishes. 🙂
This is lovely! Thank you for sharing.
Hi Dawn! Glad you like it. We had a lot of fun making it!
So many cute ladies! And a cute tape measure, too!
Aww, thanks, Kate! It is a fun tape measure, isn’t it?