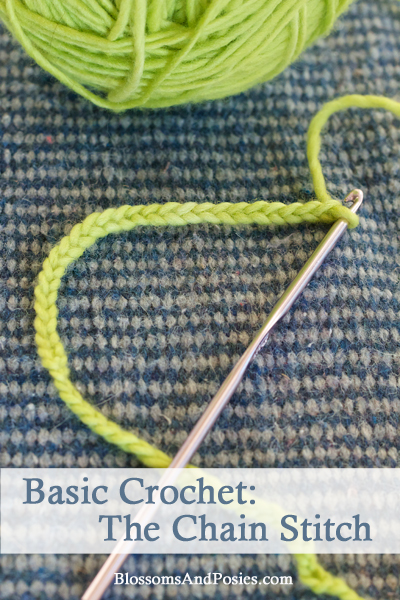
Have you ever tried to crochet? The first stitch to learn is extremely simple – the chain stitch. All you need is some yarn and a crochet hook.
The crochet chain can be used as the base line of stitches for a project, as an edging, or even alone as an embellishment. Check back soon to see a project Abbie is working on using JUST the chain stitch. Easy peasy!
Here is Abbie demonstrating the basic chain stitch:
How to Crochet a Chain Stitch
Materials
- yarn
- crochet hook
Directions
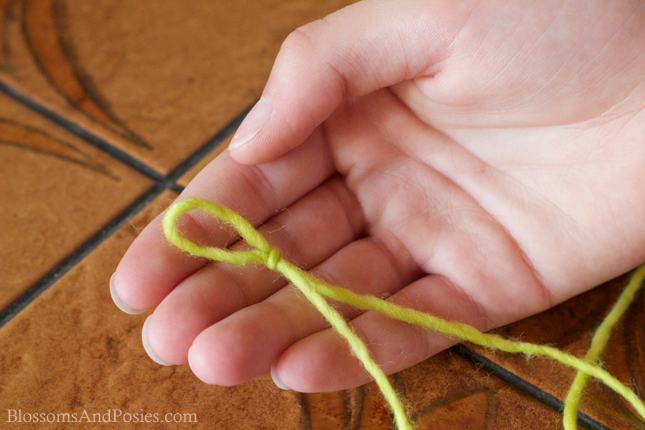
1. Make a slip knot. You can find instructions on how to make a slip knot in our tutorial on finger knitting.
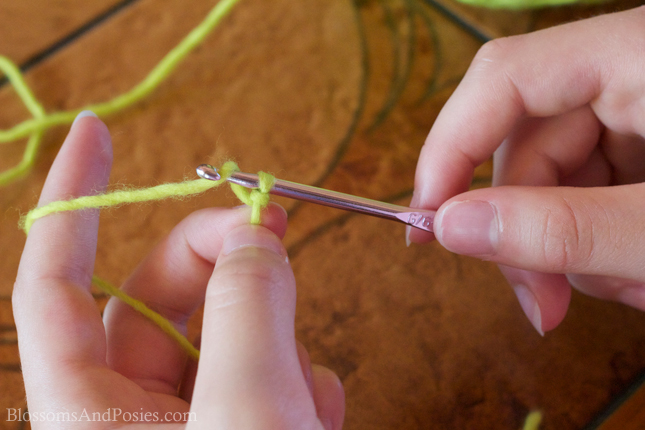
2. Slide the hook through the hole of the slip knot.

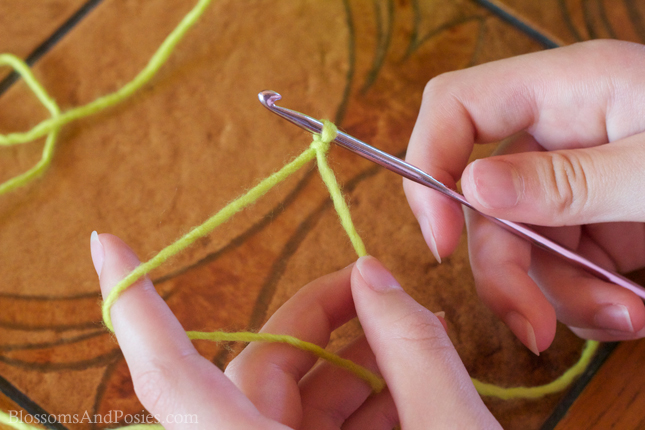
3. Hold the yarn in your non-dominant hand (so if you are right-handed, hold the yarn in your left hand,) and the hook in your dominant hand. You’ll be needing to maintain an even tension on the yarn as you crochet, so how you hold the yarn matters. This yarn hold works well for the working yarn (ball side) of the slip knot. Hold the tail of the slip knot between your thumb and other fingers. Tighten the hole a bit – keep it somewhat loose but not huge.
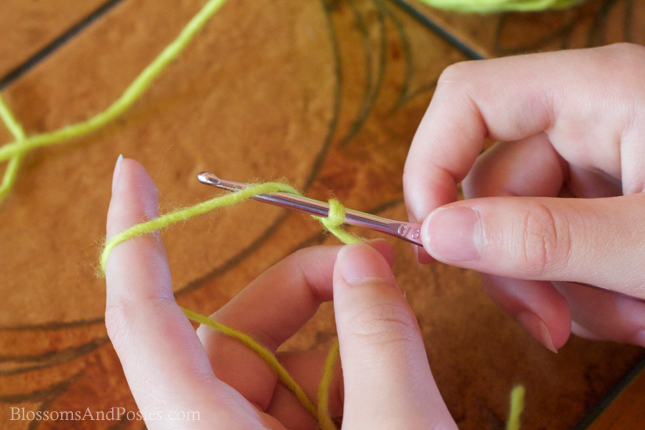
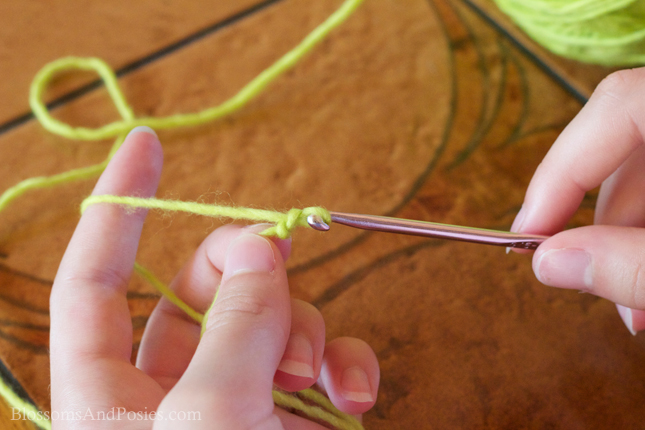
4. Wrap the working yarn (the yarn going over your index finger) so that it goes from the back and loops over the top of the hook. Think right to left. Your thumb should continue to hold the tail taut so that the knot stays in place.
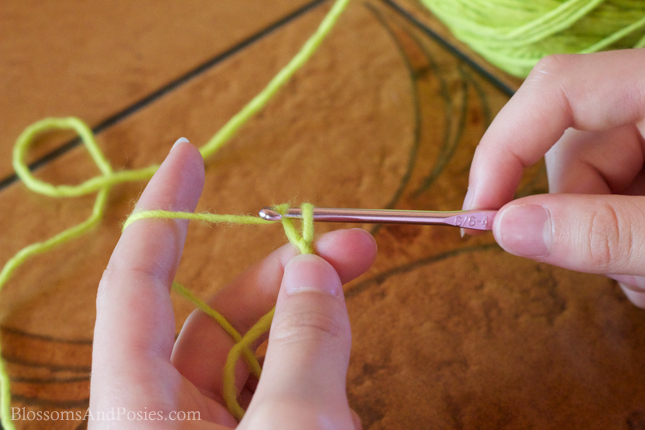
5. Pull the yarn wrapped on the hook through the hole and out the other side. This will form a new loop; the old loop will now be off the hook.
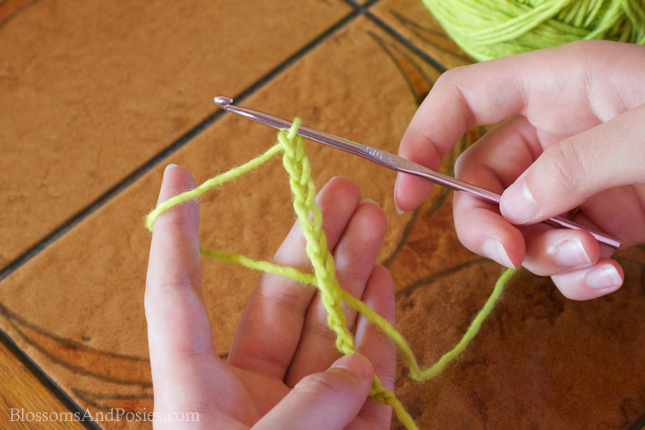
6. Put the working yarn over the hook again (#4), and pull through the hole (#5). When you get comfortable with this, you will find yourself doing more hooking than wrapping – using the hook itself to grab the yarn. Repeat until the chain is as long as you want!
Are you following us on Pinterest? Check out our crochet board for inspiration!
Craftsy offers free video crochet classes!


- yarn
- crochet hook
- Make a slip knot
- Slide the hook through the hole of the slip knot and tighten slightly
- Hold the yarn in your non-dominant hand, and the hook in your dominant hand.
- Maintain an even tension on the working yarn by holding the yarn so that it comes up over your index finger.
- Hold the tail of the slip knot between your thumb and other fingers.
- Wrap the working yarn (the yarn going over your index finger) so that it goes from the back and loops over the top of the hook. Think right to left. Your thumb should continue to hold the tail taut so that the knot stays in place.
- Pull the yarn wrapped on the hook through the slip knot hole and out the other side. This will form a new loop; the old loop will now be off the hook.
- Put the working yarn over the hook again, and pull through the hole.
- Repeat until the chain is as long as you want.
Thank you! I have a hard time keeping tension consistent when I crochet without a lot of awkwardness on my part. The pictures really help!